Polo Ornelas
it's like Linktr.ee but home made
Blog Index| Last Post: godox lux jun...
Raspberry Pi; the swiss army knife of our generation
by Polo Ornelas
(how to use a raspberry with an iPad Pro)
I have tested all major platforms for development (mostly web development); all of them have drawbacks. Hardware, software, UI, compatibility, cost, etc. Unless you are a fanboy that cannot see above your head you will realize that choosing a developer environment is “choose your pain”.
My last adventure is probably something that by design is not optimal, but it made sense to me, let me explain to you why; I’m a web developer with photography as a hobby, after using a photo editor with a pen directly on the screen you realize that the mouse its just “old”, the more natural way to edit photos is with a digital pen. But at the same time, I’m a web developer, and I need some kind of *nix environment to be able to develop sanely.
Windows, ChromeOS, and iOS support digital pen, in my opinion, iOS and Windows support it “better” than ChromeOS. On the other side Windows, ChromeOS and Mac, and Linux have some kind of *nix environment.
| Mac | Win | Linux | iOS | ChromeOS | |
|---|---|---|---|---|---|
| Touch | no | yes | no | yes | yes |
| Linux env | yes | yes | yes | no | yes |
Technically speaking only windows and chrome provides what I need. For chrome, I have a complete post where I talk about google’s lack of commitment to hardware. I would not consider touching another Chromebook until Google takes Chrome OS seriously (probably never as fuchsia is ramping up).
For my second option (windows), there is one big issue;
Money
Running a pen on windows is expensive; you need a high-end machine and an integrated digitizer, I’ve tried the surface book 2 and it was very good, however, I needed to replace it because it failed (unrelated). My options were a Surface Book 3 or the Asus ROG Flow X13 (with the eGPU). To run any photography suite you are talking about having at least an entry-level discrete graphics, you are no longer talking about the entry-level laptop, for the Microsoft option you are talking about 2K USD at least and 3k USD for the Asus. These are beautiful machines but seriously expensive, I can get a Leica glass for that money.
What if …
At that time my sister lends me her iPad mini to do some quick adjustments to a couple of photos. Oh boy! it was quick to do photo editing, way faster than windows. So I begin thinking, what If I switch to an iPad.
This was at the beginning of the year 2021, the iPad Pro with an M1 was just launched and I started to think if it was possible to do my photo editing on the iPad and do my coding on a remote machine, I’m interested in some machine learning so I started researching about this, and I found the Nvidia Jetson Nano, it was a sign, I was going to develop remotely from the iPad on the Jetson, having access to the best of the tools for what I need. And with a CUDA environment.
At the same time, I learned that some people were plugging a raspberry on the USB-c port, this also provides a point-to-point Ethernet connection between the iPad and the raspberry. Of course, I was intrigued and thinking about all the possibilities, it sounds like a WSL on hardware :).
I’m sold, time to do some shopping.
Which iPad?
This is an easy one; any with USB-C, from there choose whatever you can afford.
While the iPad Pro supports thunderbolt, the air and the mini provide interesting advantages, just think about what are your external device’s needs. For me is mostly an SD card reader, for some people it may be an external hard drive, midi interface, etc.
The external monitor support for iPad is junk, don’t use it to make decisions. Although this may change on iOS 16.
keyboard and mouse
Apple tends to sell “basic functionality” as accessories (like the phone cases), the magic keyboard is no exception and gives you something precious; “an extra power port”. That means you can charge the iPad while the USB-c is in use. There is another thing that provides; magnets, I’ll talk about this later.
The Logitech one doesn’t provide power, but it provides a quick “transformation” to tablet mode, whereas on the apple one you need to detach it and later put a case, the apple one is a little inconvenient if you need to go to tablet mode.
Again; you will have to choose your pain.
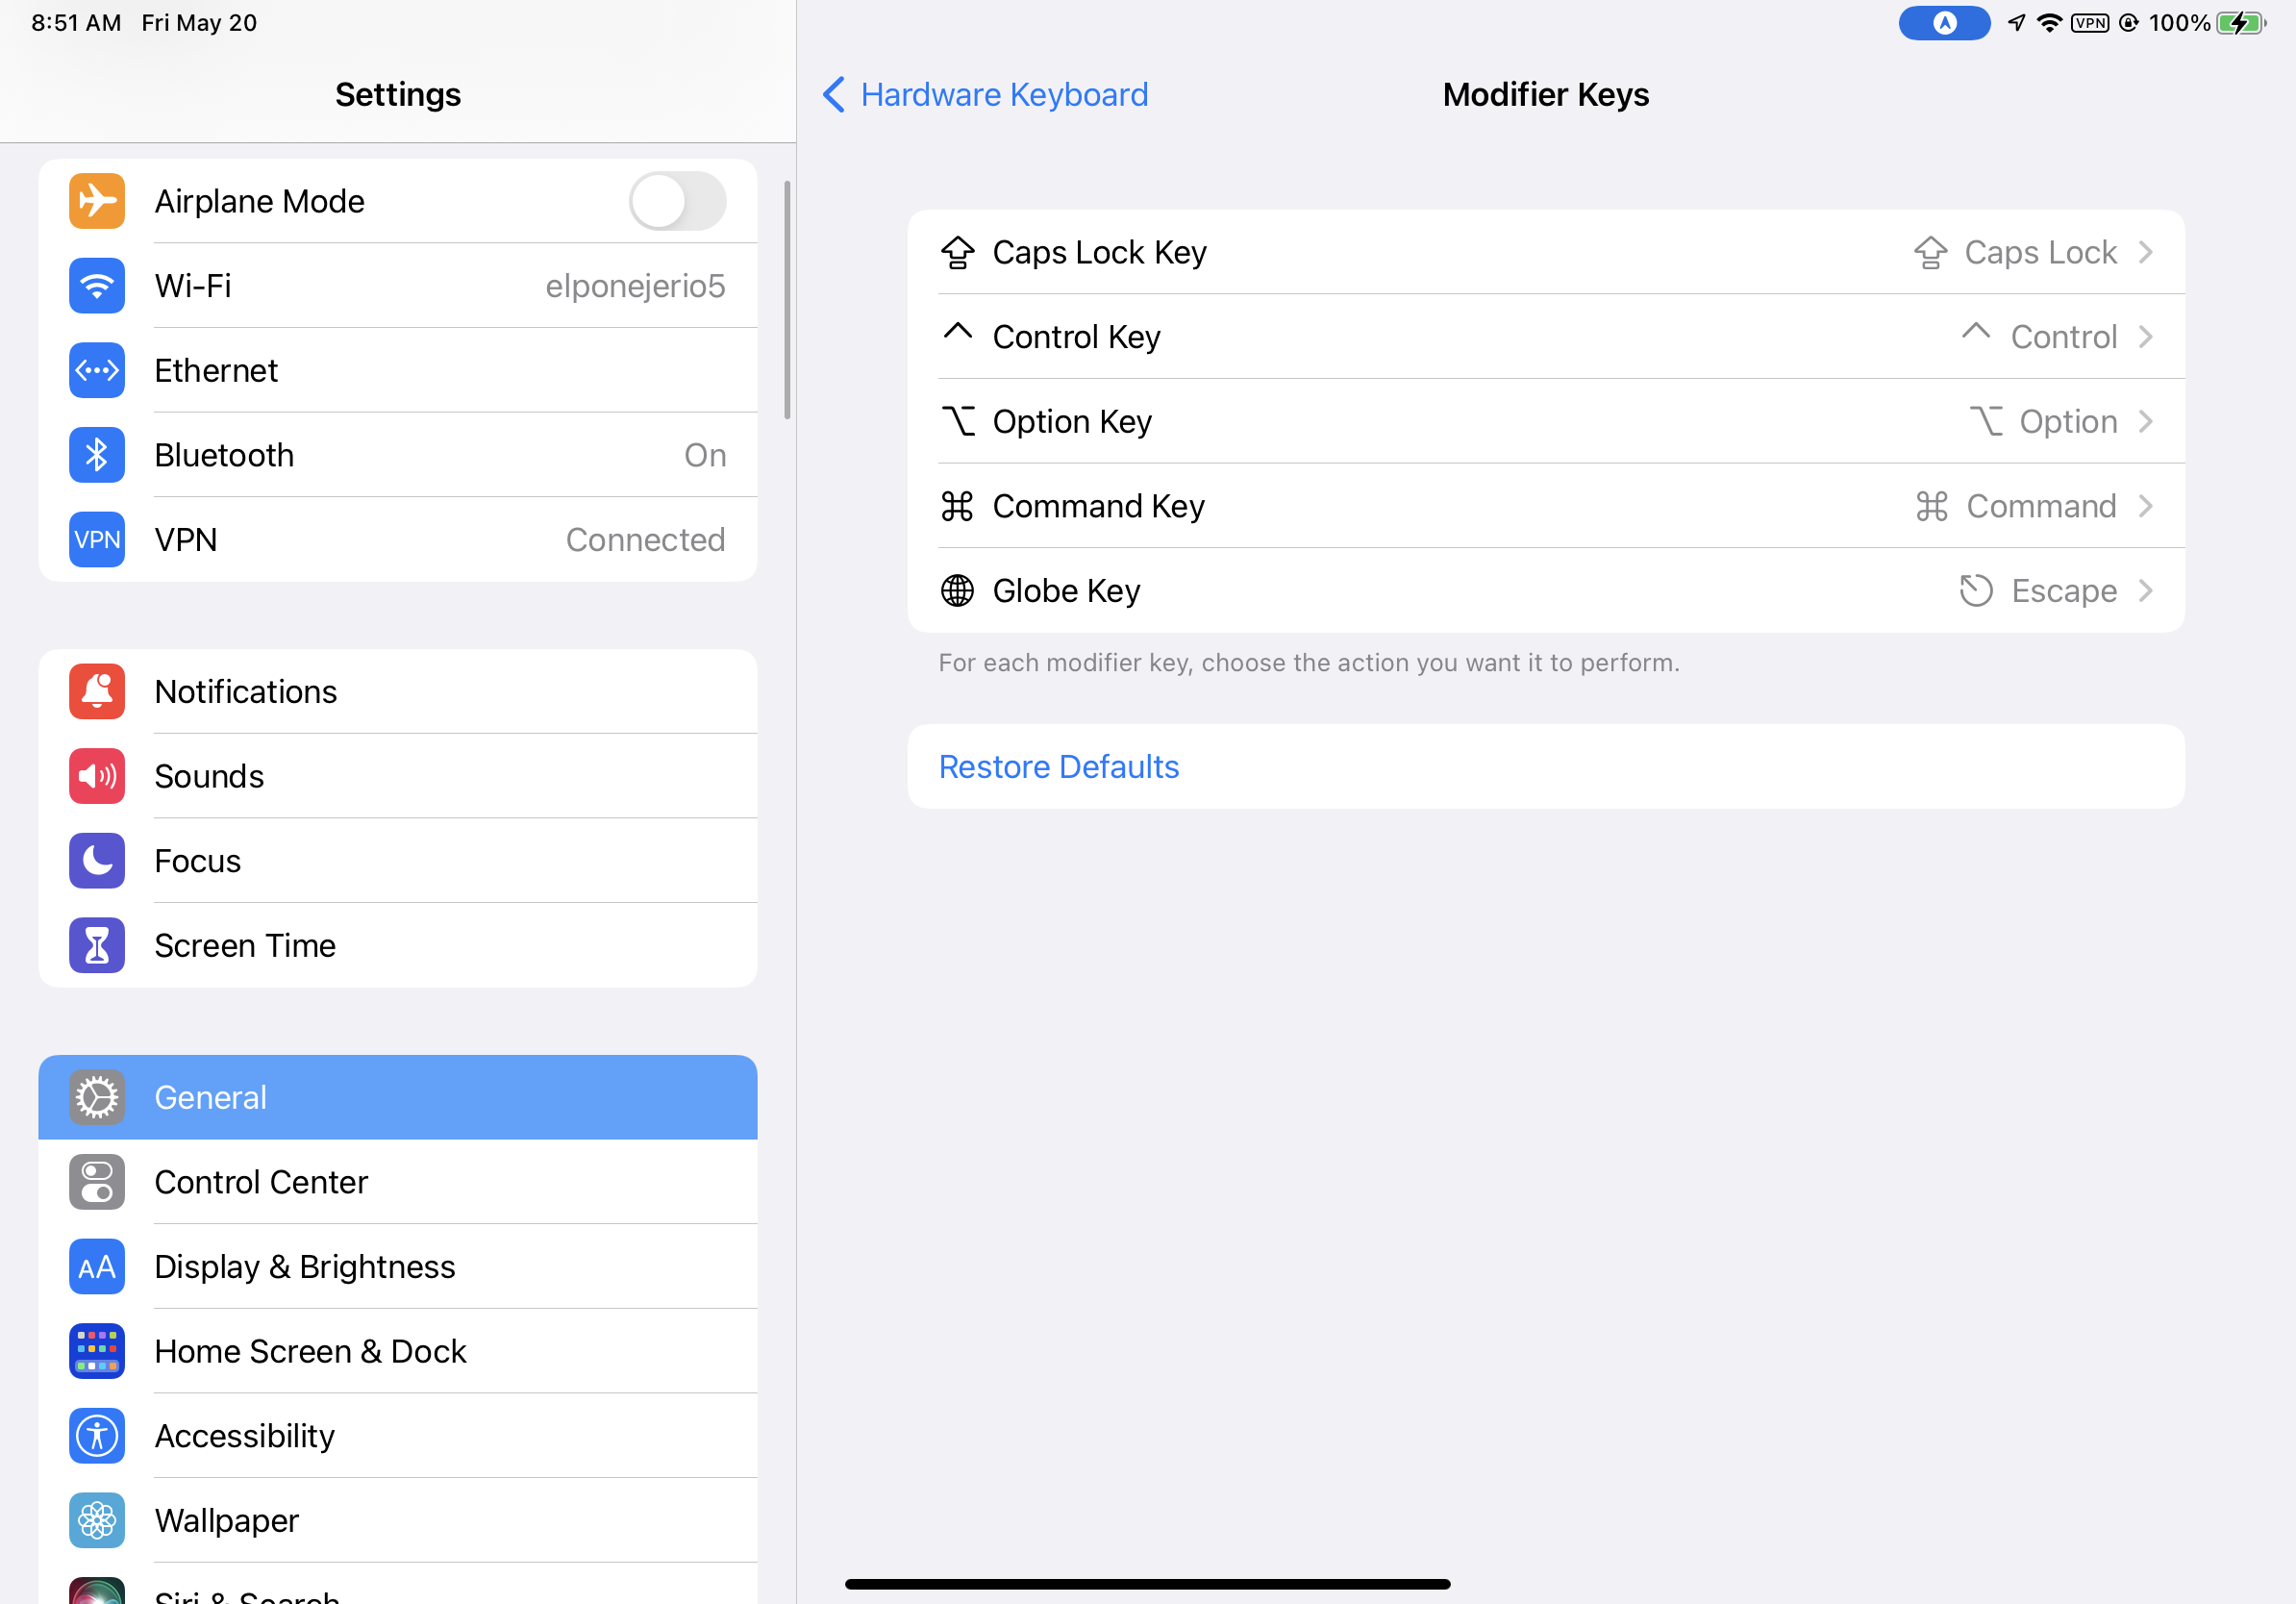
There is one last thing to consider, the magic keyboard doesn’t have an “escape” button, well, it doesn’t have any “function” button. The way I solved it is by remapping the “globe” button to escape, it’s a little weird, especially in vim, but later I kind of liked it because my mind switches automatically to this mode when the keyboard is “small”.
To remap go to settings->general->keyboards->hardware keyboard->modifier keys
sd card
Plain and simple; speed, go to an A2 (or higher) sd card. An unscientific test has proven that SanDisk excels here.
Raspberry Configuration
There are some important things before going there;
- If you don’t know how to use dd, just use the Raspberry Pi Imager
- If you have any intention of trying a desktop interface choose the full version of Raspberry OS
-
Install pi-apps (I’m a Linux veteran, I still install pi apps, it’s just convenient)
- Use the 64bit version, we have 8 GB of memory and you want to be able to open tons of chromium tabs.
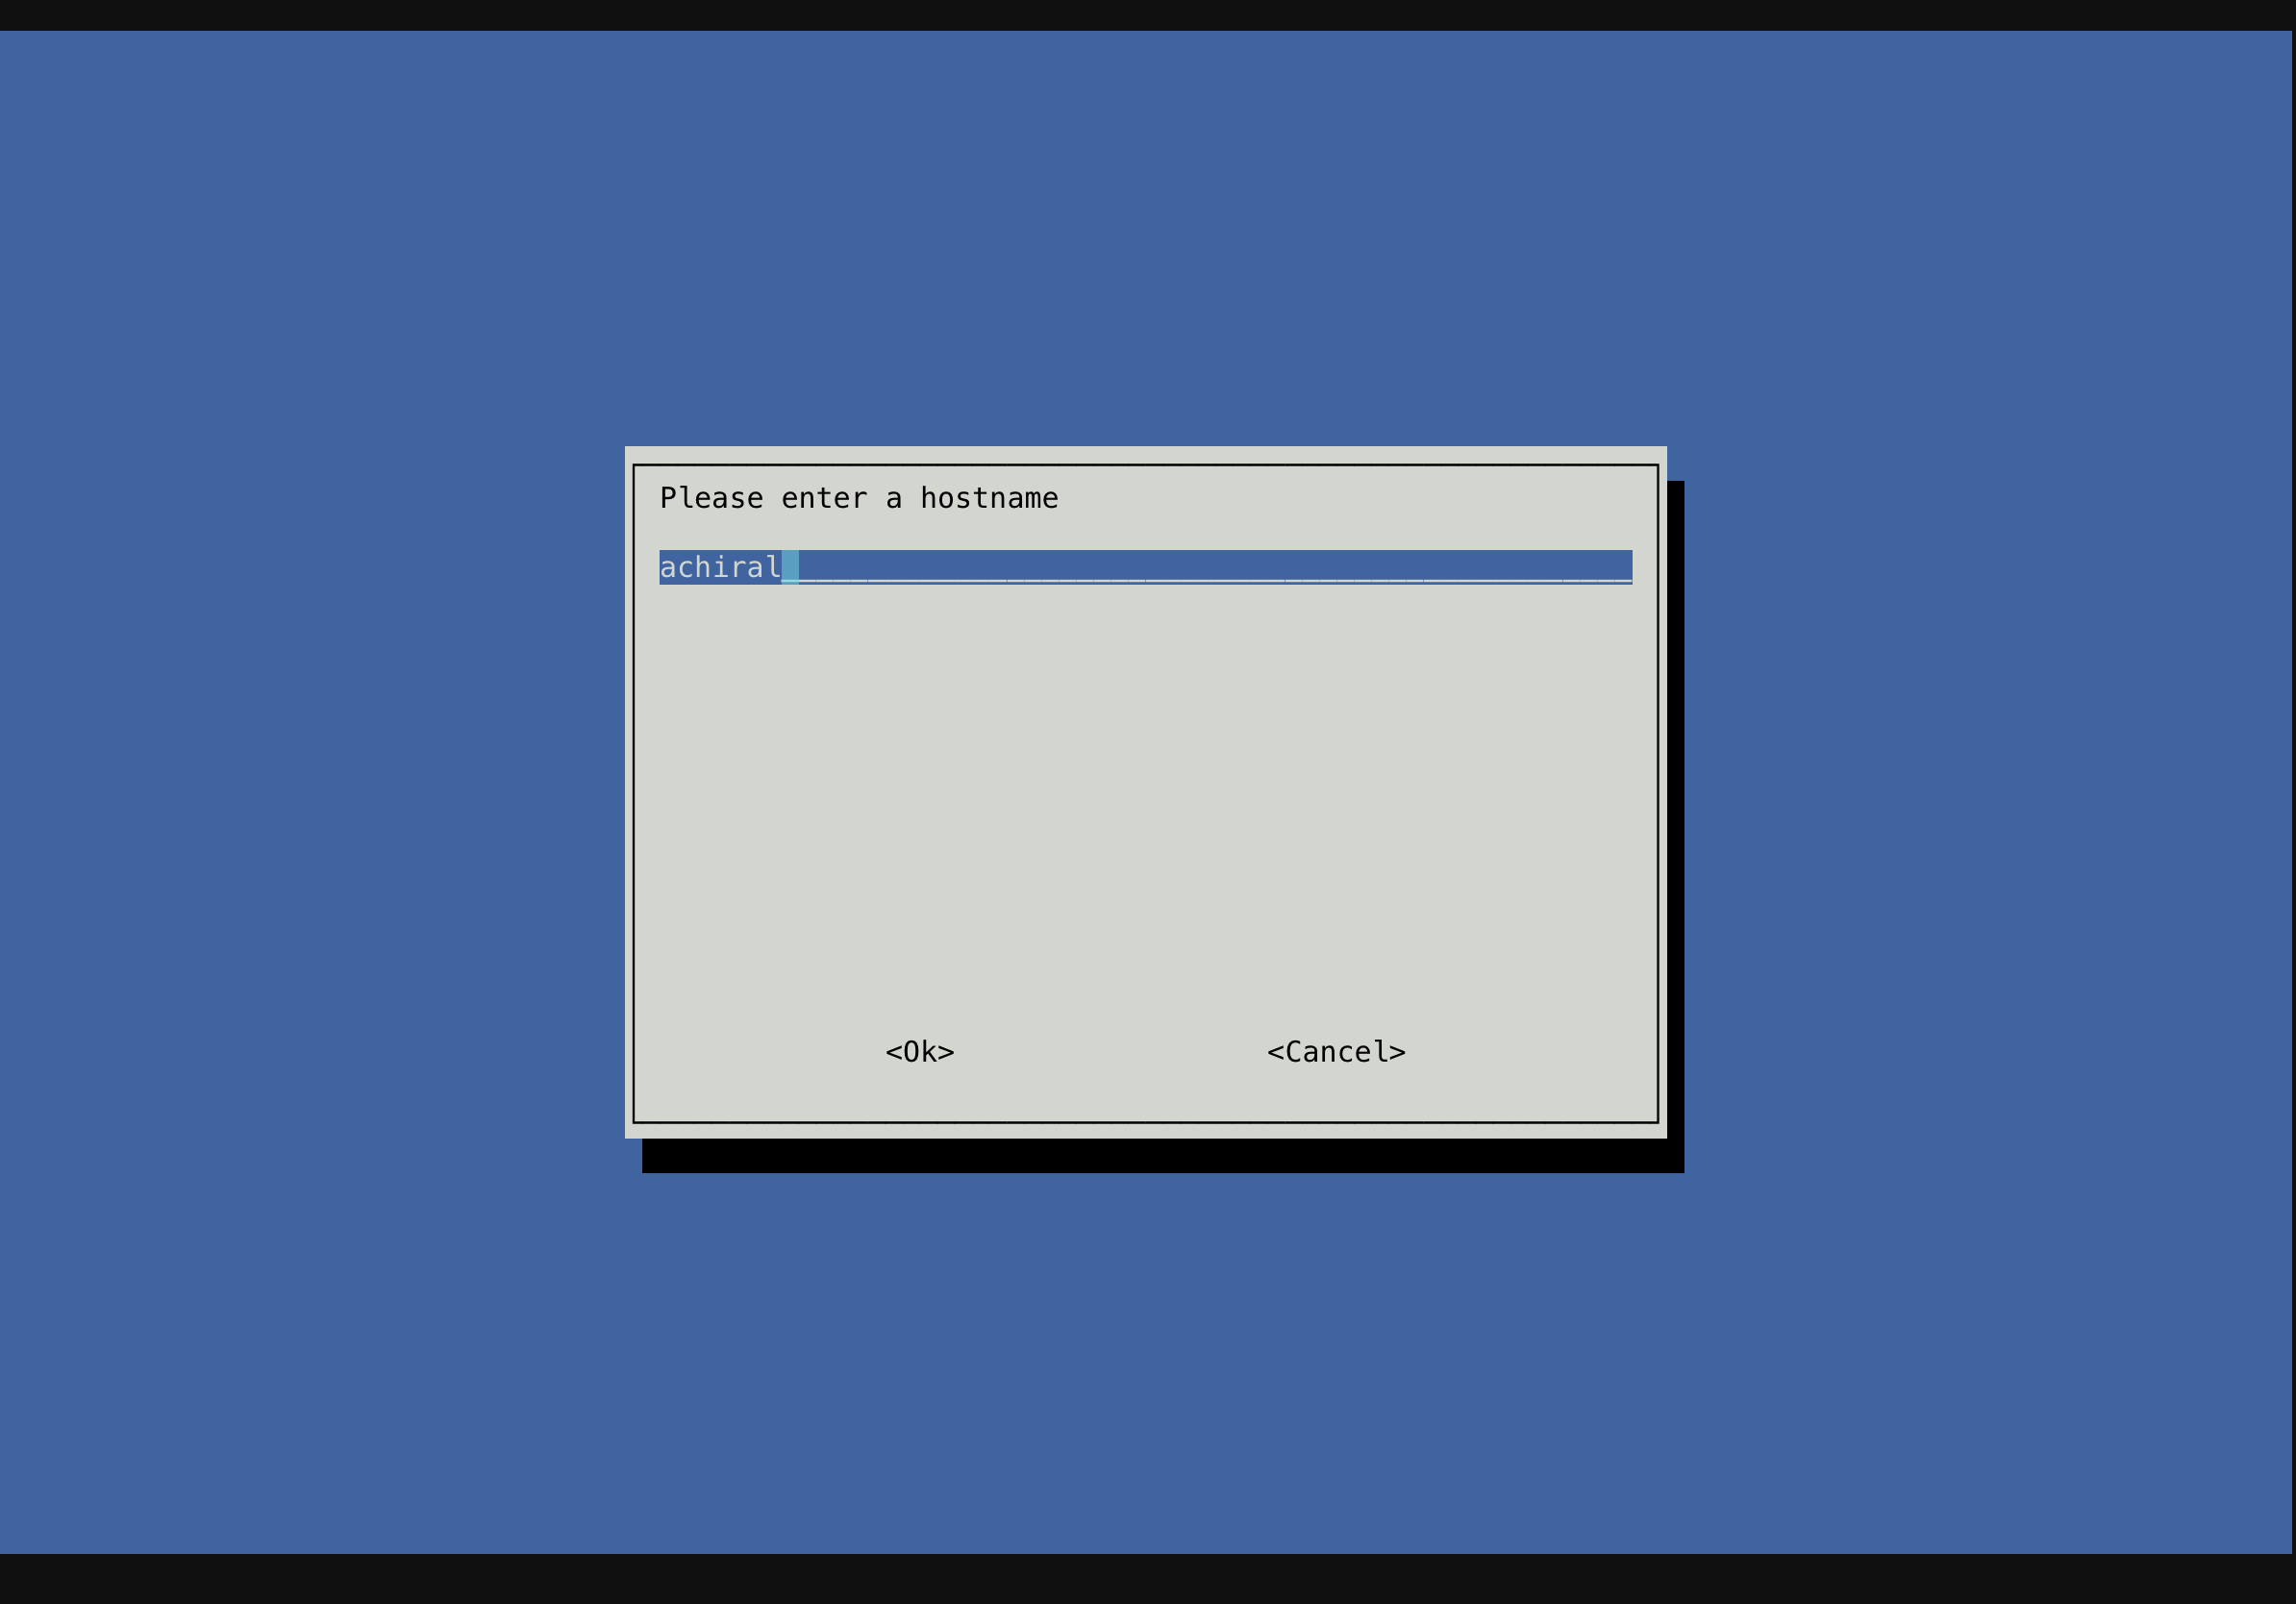
- Make sure you change the name of your raspberry, raspberry.local is just boring (also you want to be able to have more than one raspberry on your network).
sudo raspi-configSystem->hostname
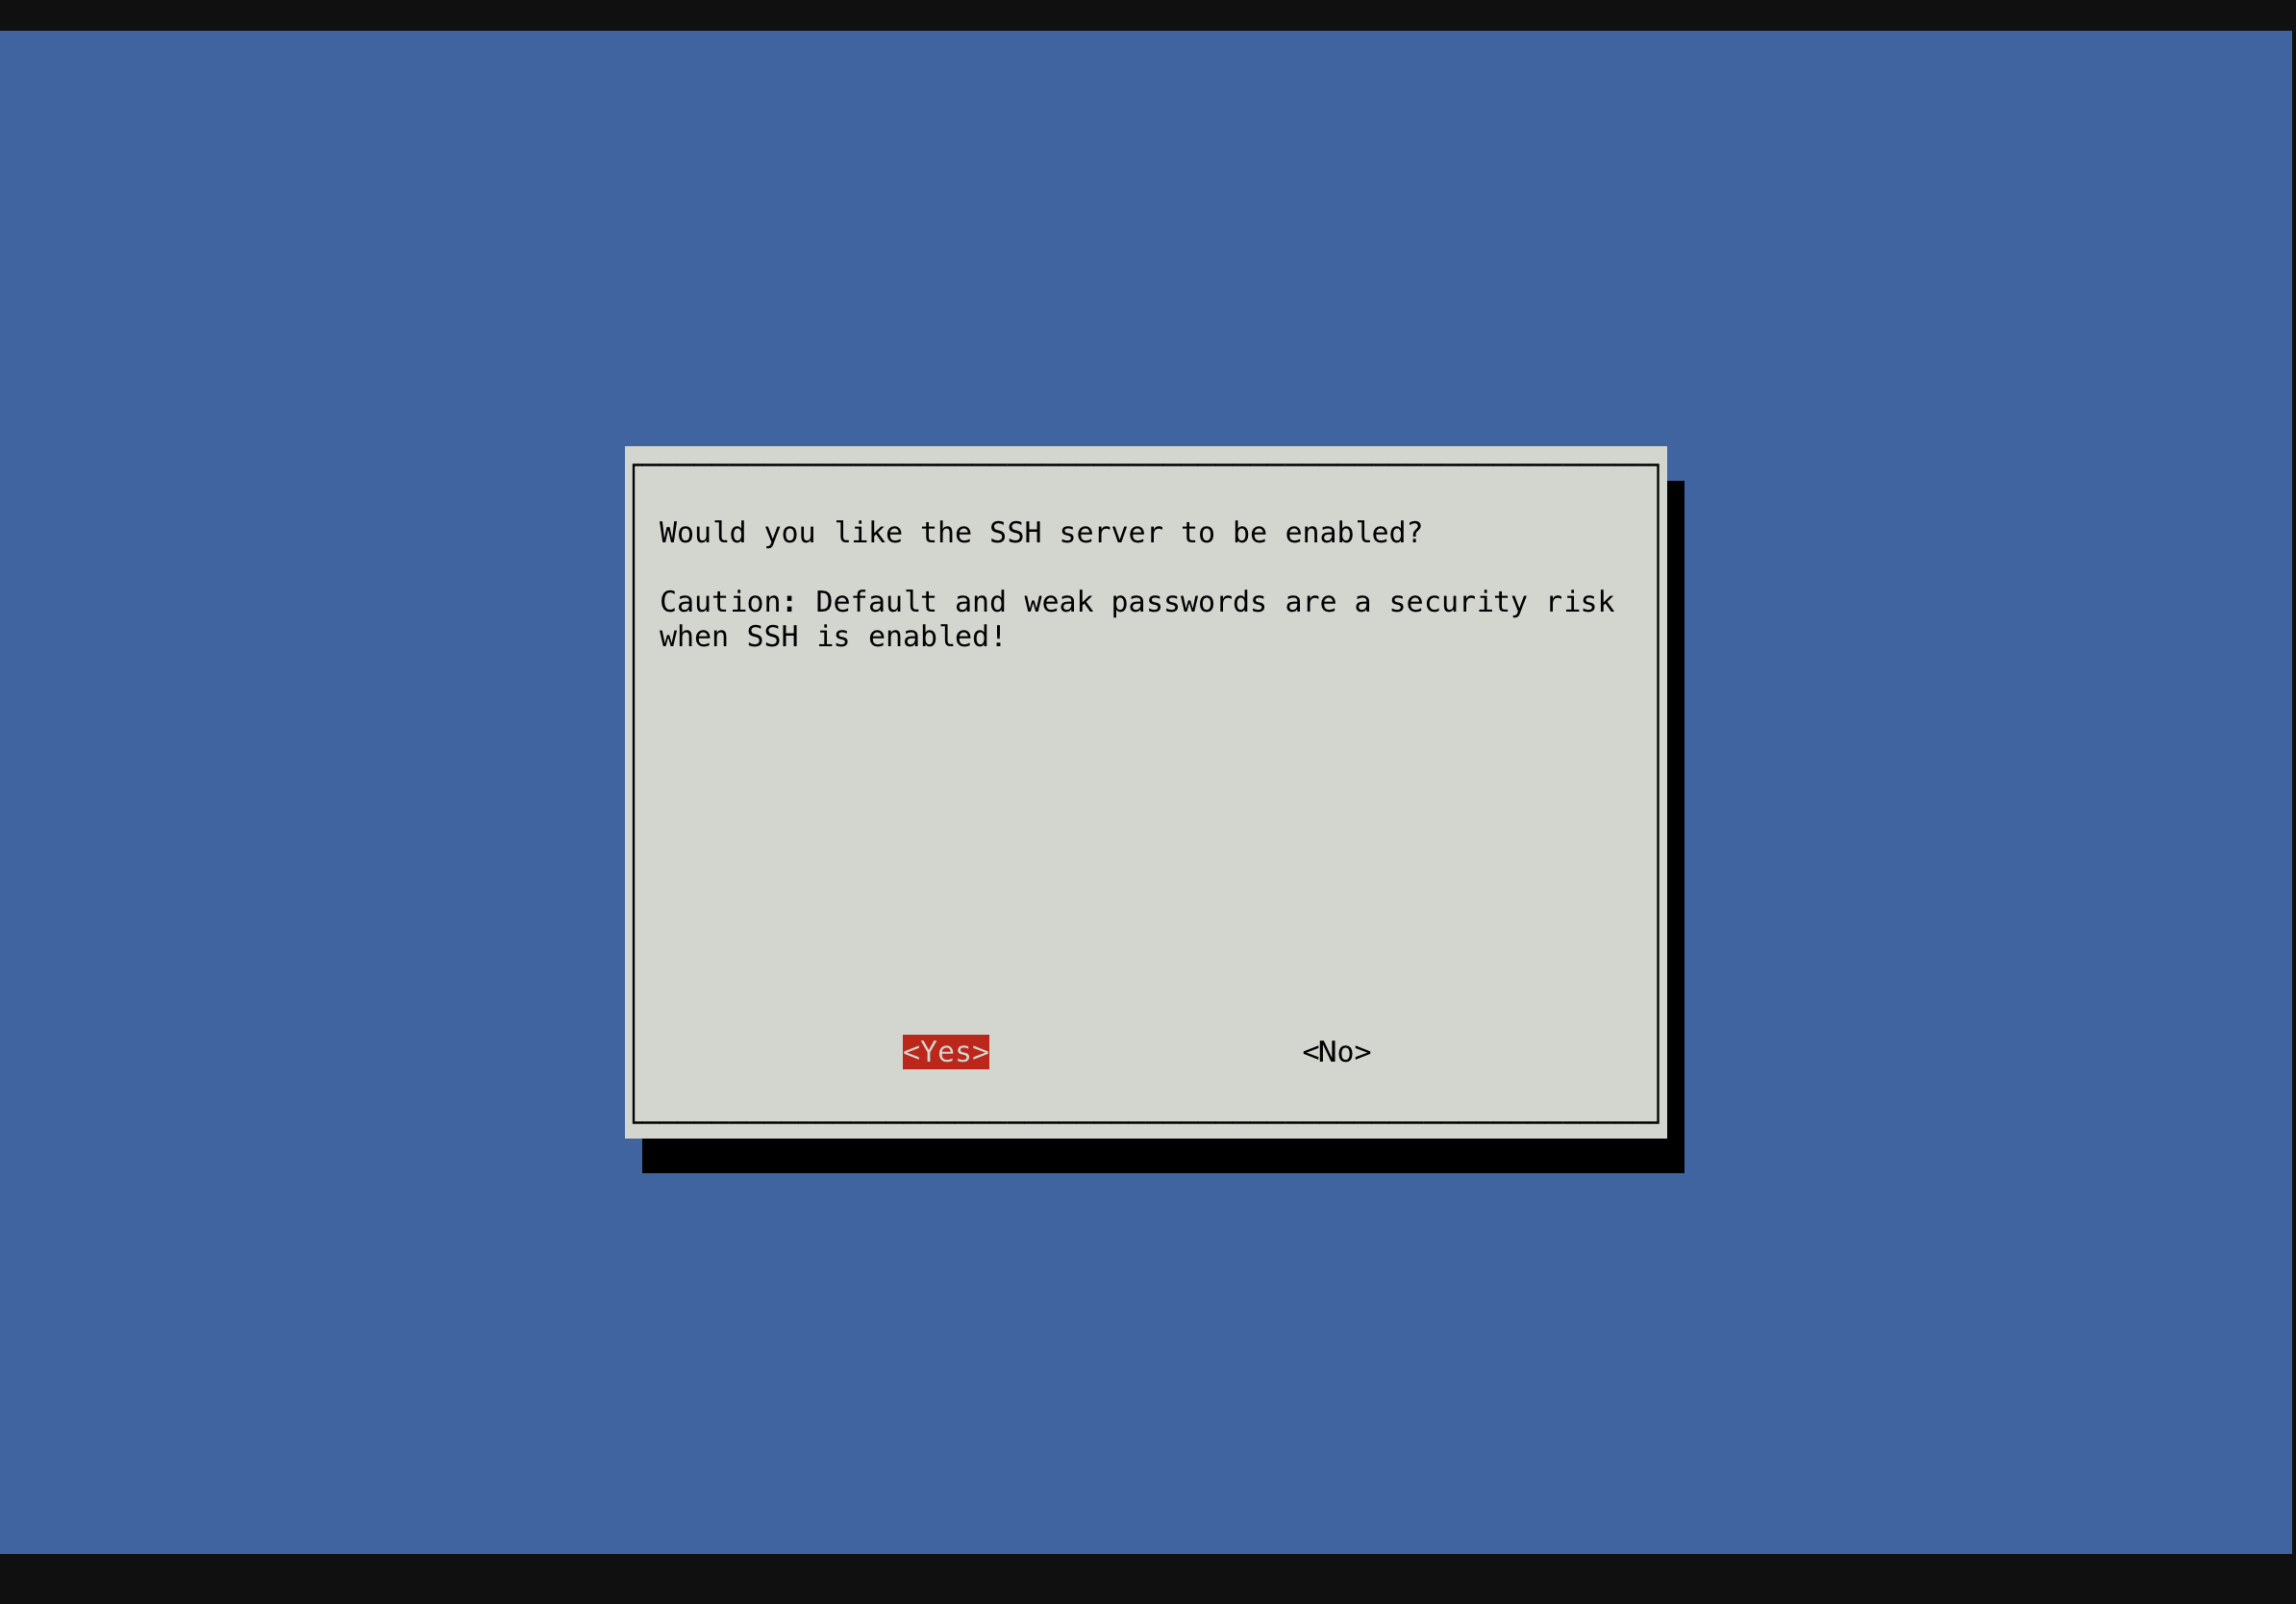
- Make sure you enable SSH
Same thing to SSH, enable it from raspi-config
sudo raspi-configInterface Options->SSH
Gadget mode
One of the first things to do is to enable the “gadget mode” of the raspberry to enable communication via the USB-c cable. Please note that this only works on the Rpi4 and the Rpi Zero.
I was using a mac when I flashed the image, so the sd card was mounted on Volumes. If you use Windows it will be on a drive.
You can do these steps after installation (go to /boot instead of /Volumes), on this example I’m doing it from another computer.
first, add dtoverlay to the config
$ cd /Volumes/boot
$ echo 'dtoverlay=dwc2' >> config.txt
Then add the module on the cmdline.txt
$ sed -i '' 's/quiet/quiet modules-load=dwc2,g_ether/' cmdline.txt
Make avahi to listen just on usb0
Avahi is to resolve a friendly name on your network, instead of saving an IP address, it will become for the default name is raspberry.local .
However there is a design principle in avahi that doesn’t help us here; avahi by default will broadcast on all the interfaces, this means that the raspberry will also respond when you are connecting via wifi or a cable network. What I wanted to achieve here, is that it only responds via the usb0 cable.
There is a simple way to do this; Edit the file on /etc/avahi/avahi-daemon.conf and add this;
...

[server]
#host-name=foo
#domain-name=local
#browse-domains=0pointer.de, zeroconf.org
use-ipv4=yes
use-ipv6=yes
#allow-interfaces=eth0
allow-interfaces=usb0
...
This way avahi name resolution will only work on usb0, and this works even without a network.
The drawback of this method is that it will no longer connect via name on a local network. I was not able to find a way to set different names per interface. For now, the pros of having a way to connect exclusively via usb0 outweigh the drawbacks of not having a friendly name at LAN level.
Disable Bluetooth if you don’t plan to use it
Edit the boot config file
sudo vi /boot/config.txt
add this at the bottom (you can probably add a section for #hacks)
dtoverlay=disable-bt
then disable the bluetooth services
sudo systemctl disable hciuart.service
sudo systemctl disable bluetooth.service
Applications on iOS
You will need a set of applications to communicate with the raspberry.
remote shell
This is probably one of the biggest pieces of the cake, most of the communication with the raspberry will be done via SSH
The best client for iOS is Termius. However, is seriously expensive (100 USD per year). The second best ssh client is free donationware, but it’s also open source. Go ahead and download Blink Shell!
WARNING: The app has recently been revamped to be “donationware”, the free version will allow you to do anything you need, but it will nag you to subscribe. While I think it’s fair for the developers to ask for money, I also think that free software should be nag-free software. I’m open to suggestions here.
There are 3 important things to know about the remote shell on iOS;
iOS will kill apps if you don’t protect them
The normal behavior of the OS is to kill applications in the background that are not doing anything, technically a remote console will fall into this category easily. Termius and Blink use the same trick to keep connections alive; GPS tracking, the only difference is that you have to “enable” it on Blink with
geo start
With Termius is automatic, just allow the GPS.
ssh is nice but mosh is the future
Mosh can connect and recover connections across networks, the best way to set up is to mix the use with “screen”.
The way it works is that from Blink you connect via;
mosh server
And this is my configuration to launch a screen instead of bash, this is better because it also provides virtual consoles.
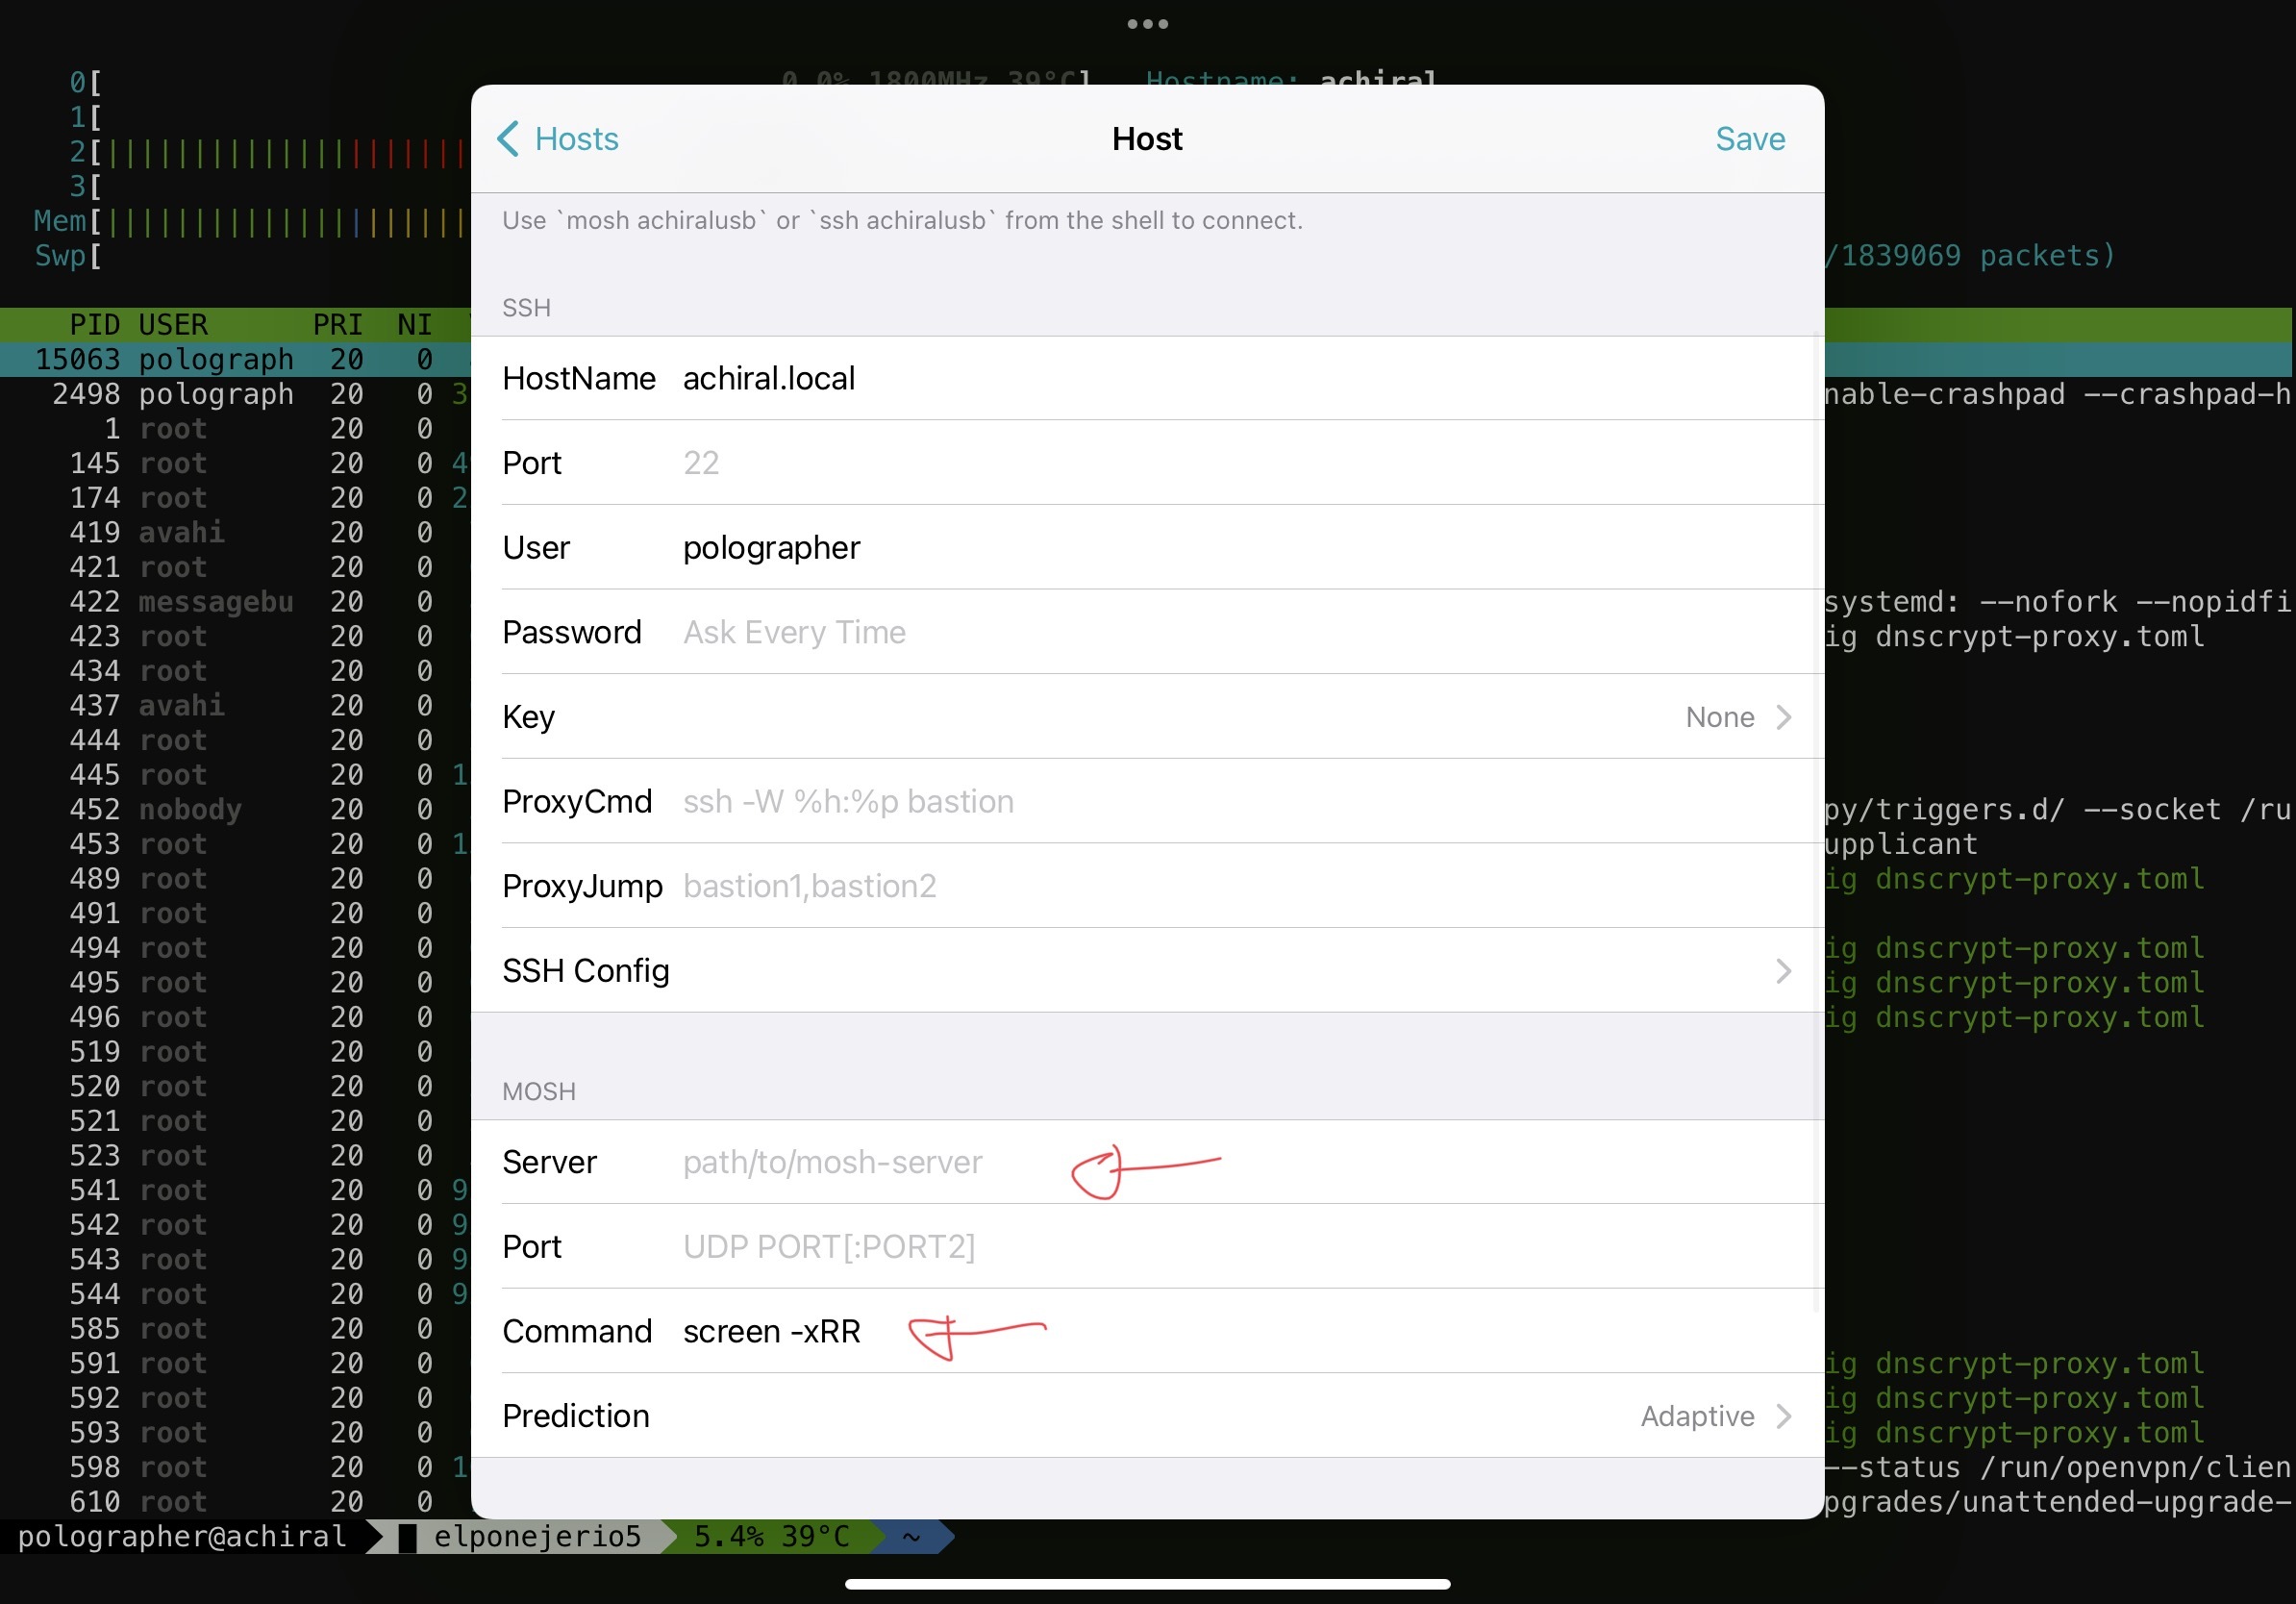
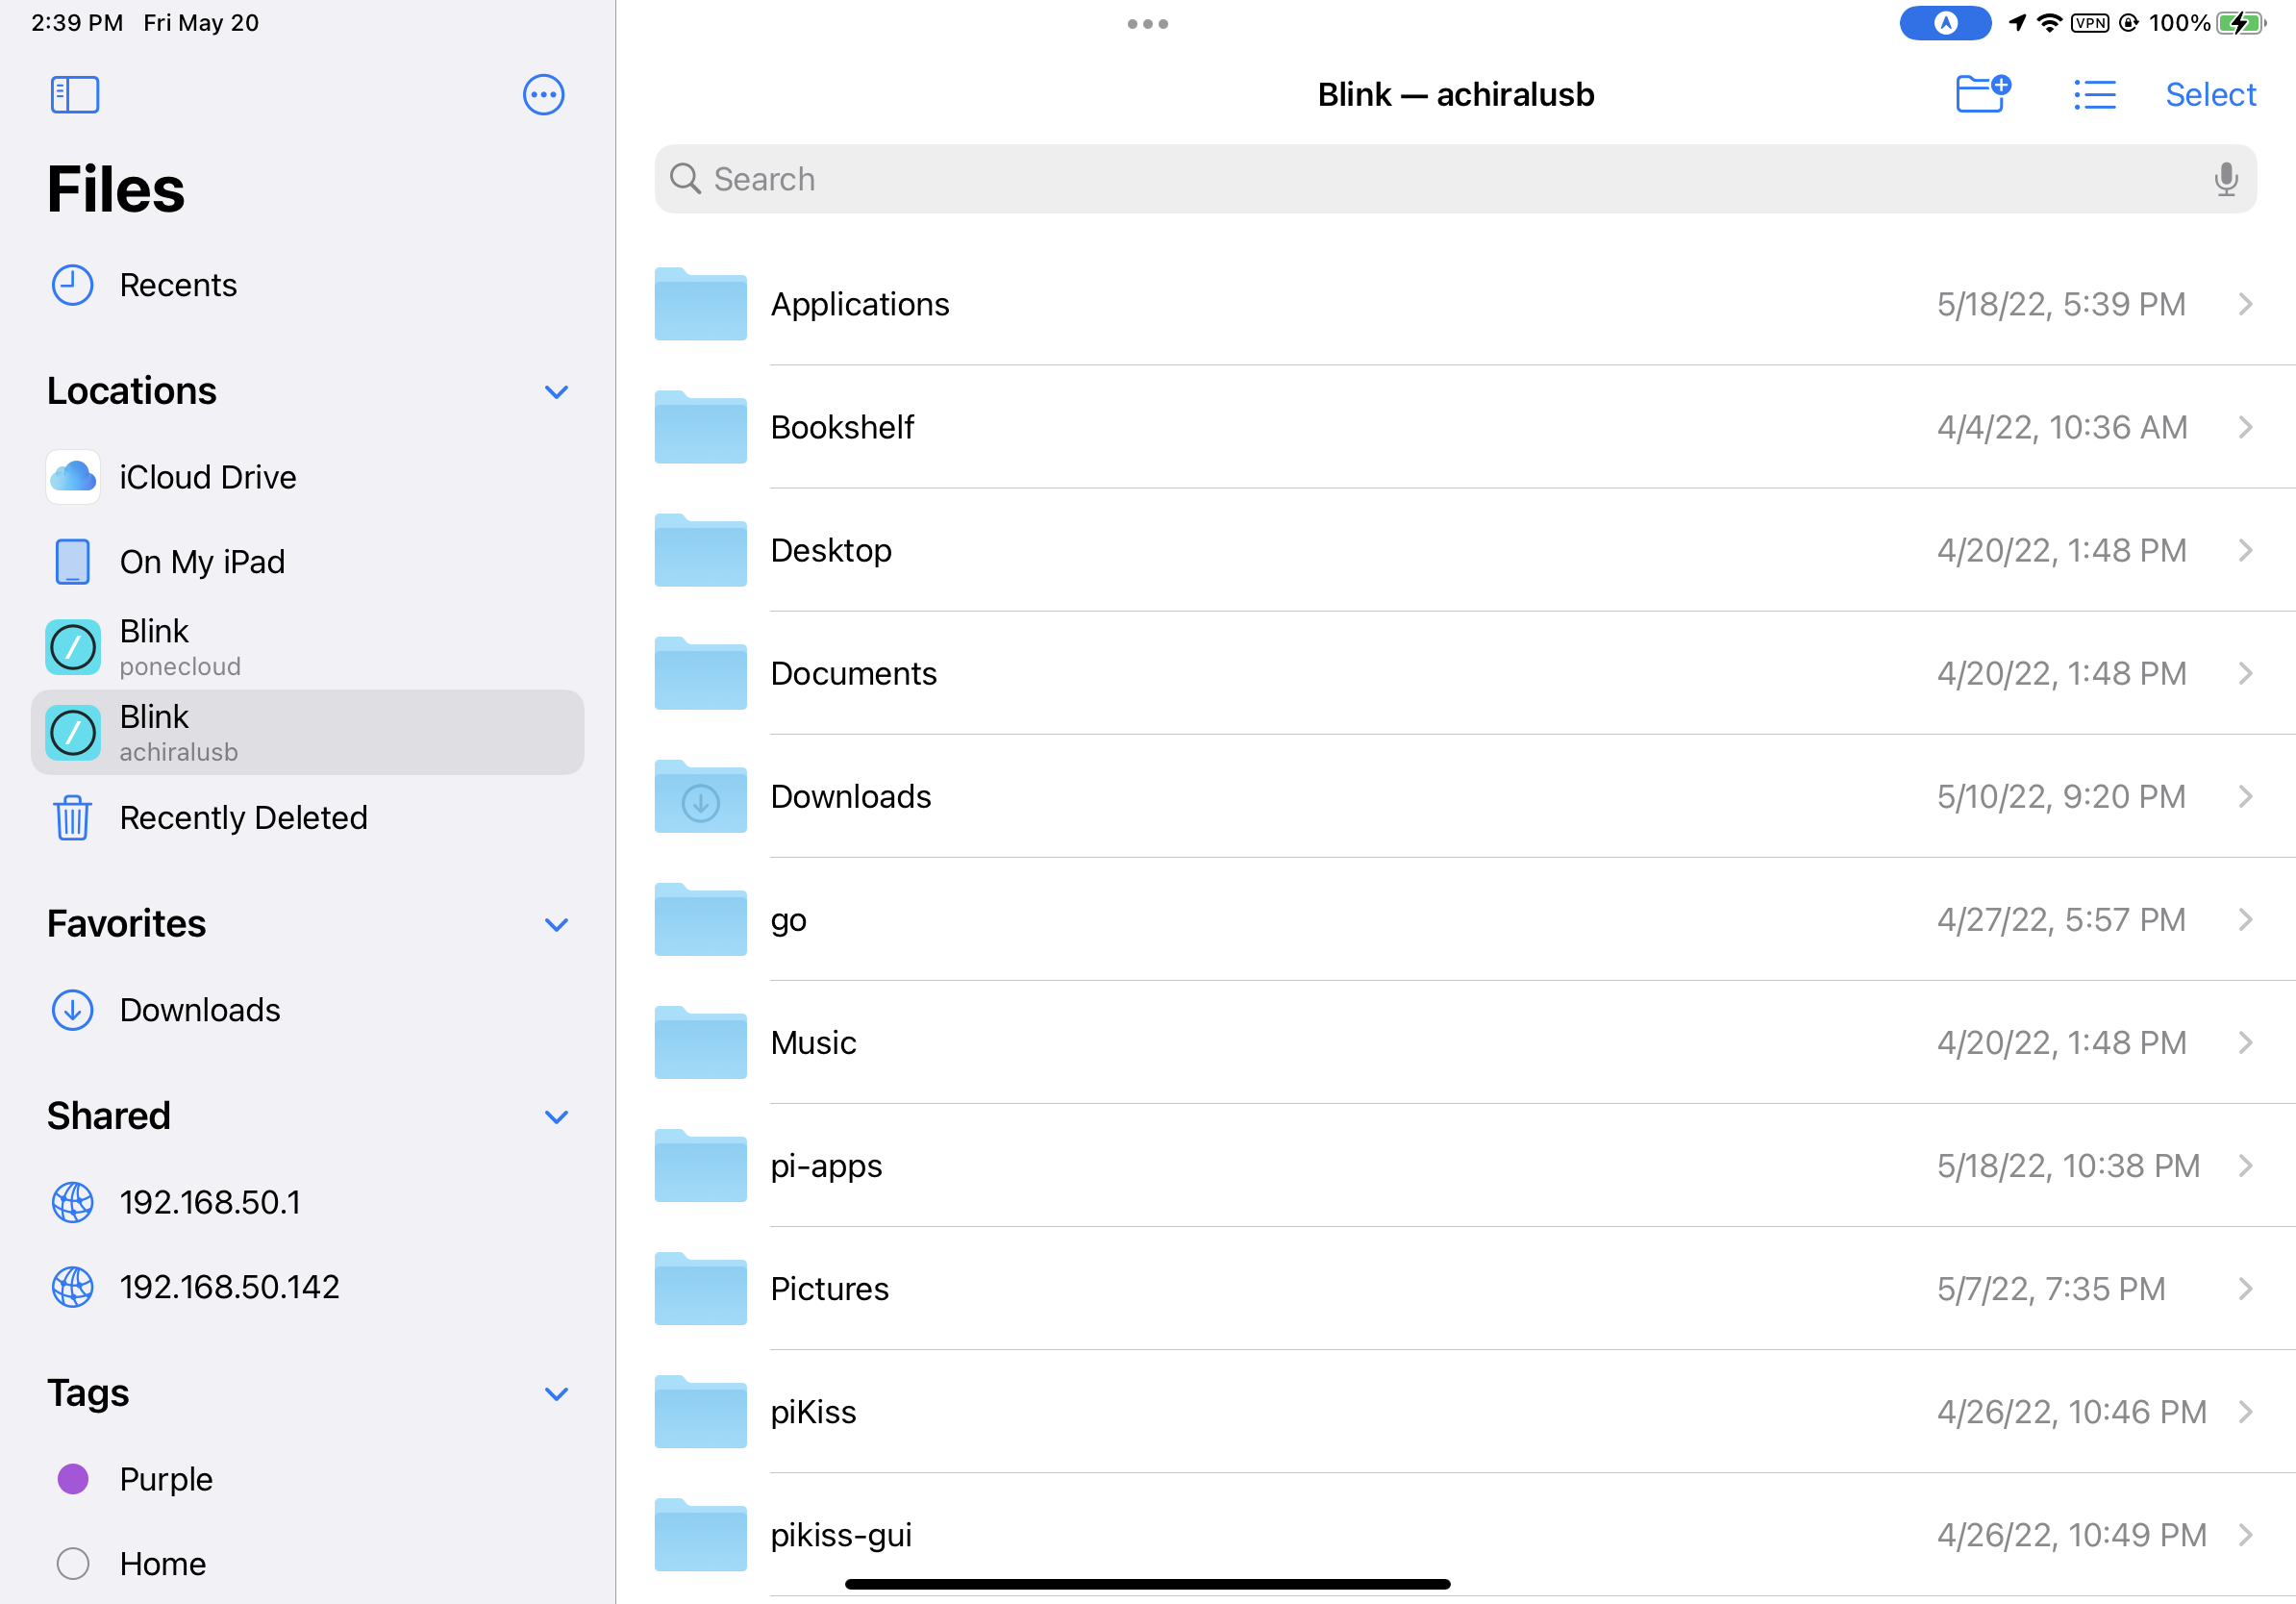
you will need the “files” provider
This is the easier way to transfer files between the Raspberry and the iPad. This feature is paid on Terminus, but is free on Blink.
The way you enable is to
- Create a key on Blink on Settings->Keys And Certificates
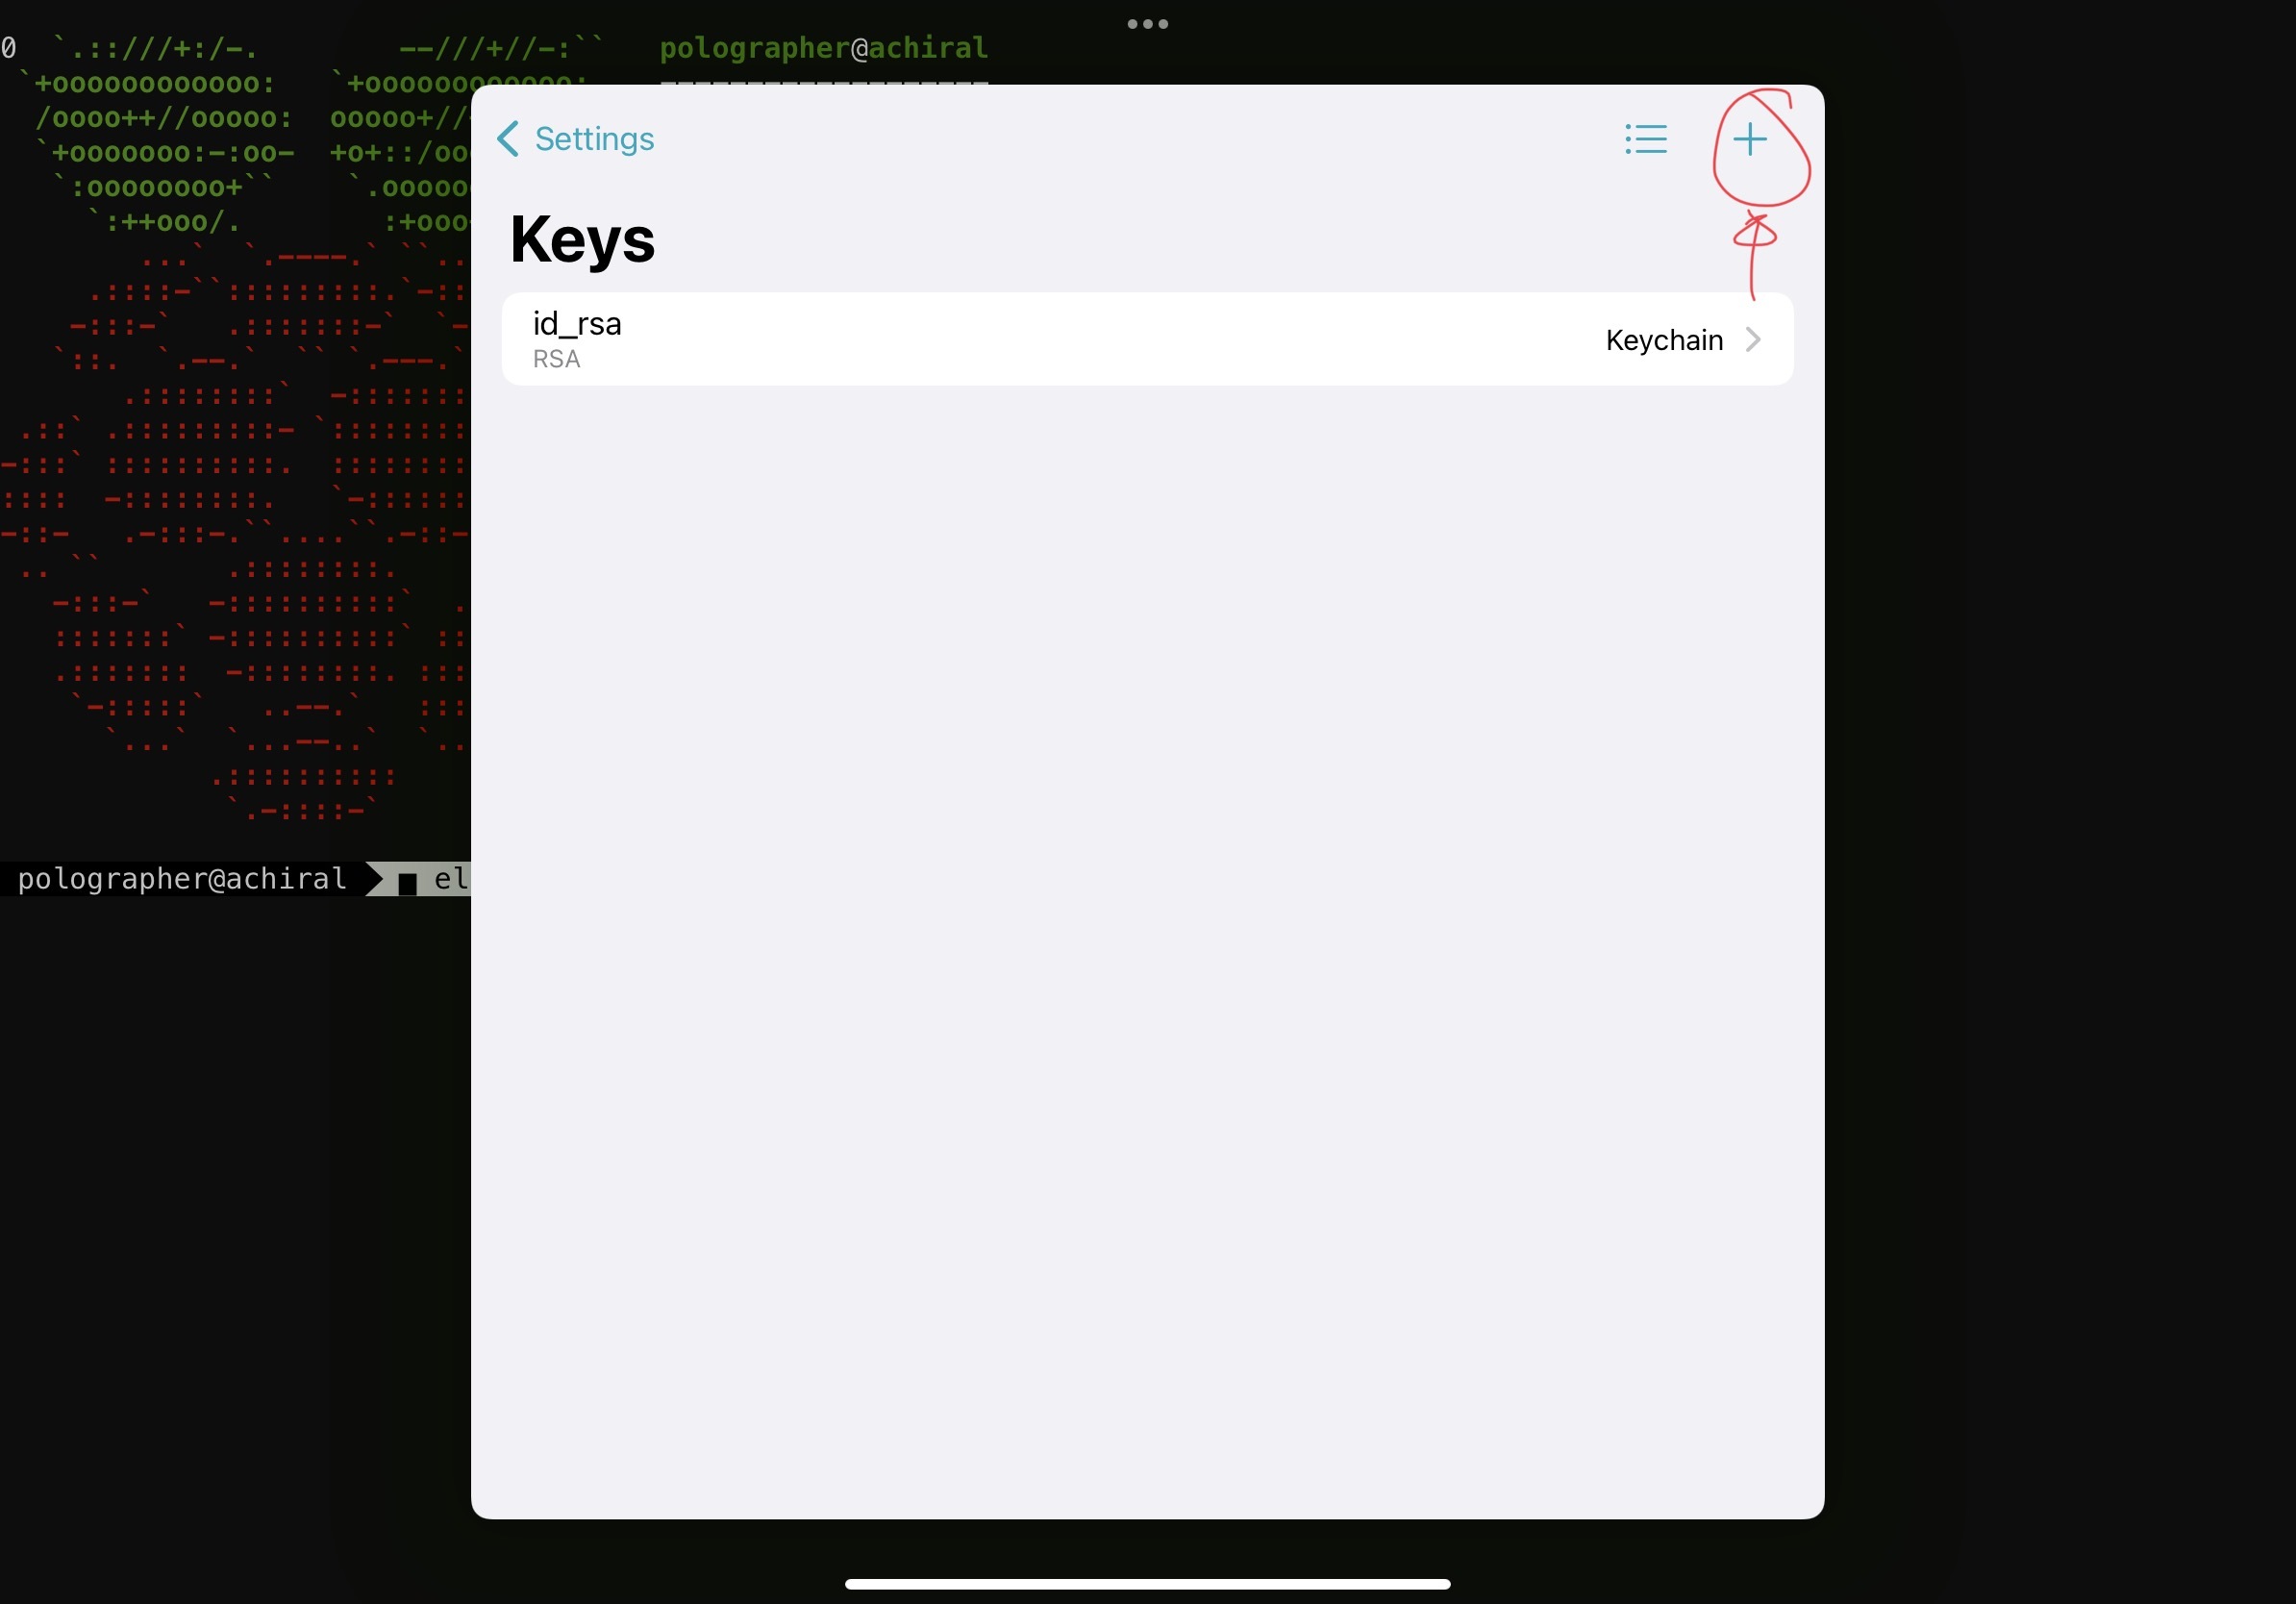
- Then you copy the ssh copy with the usual
ssh-copy-id id_rsa <servername> - And then click on the toggle on the host configuration
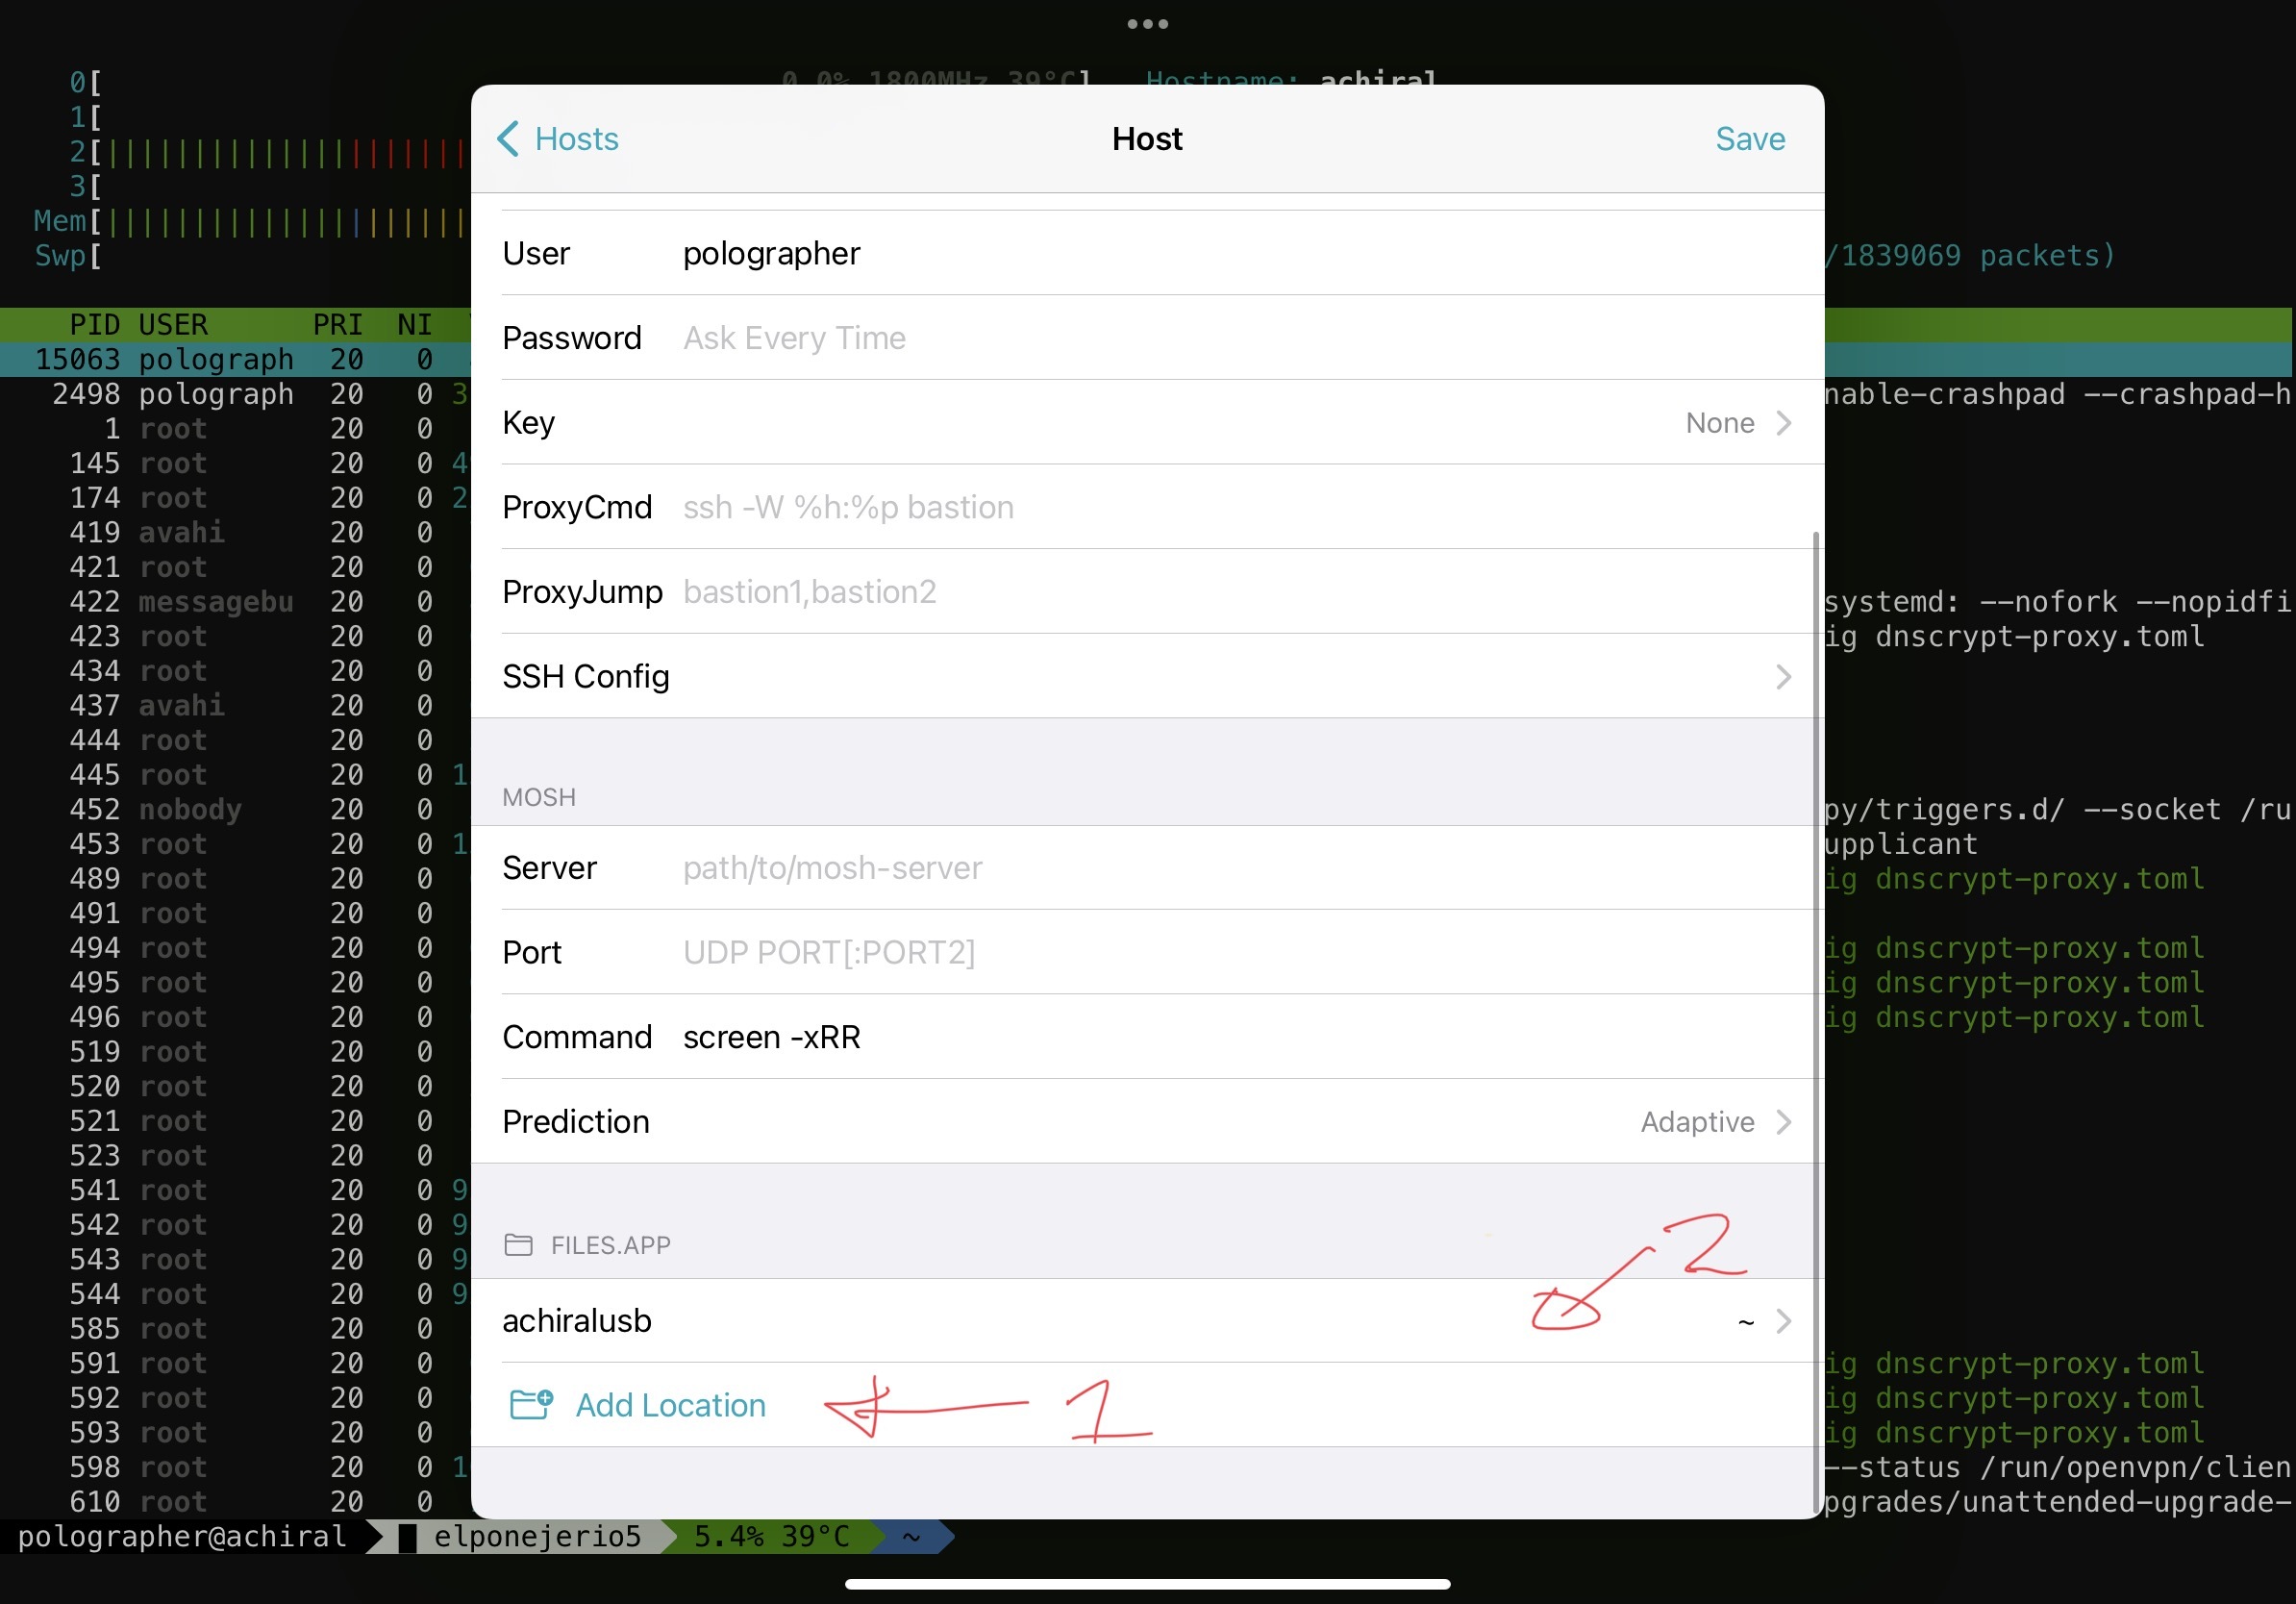
- Bingo! you will have access to your files from iOS
Remote Desktop
If you plan to use a remote desktop, I recommend you Microsoft RDP client;
Open source purists will disagree with me, but VNC is wonky cross-platform; copy and paste depends on the server, and the speed is awful, and not even talk about the huge hack for the headless setup on the raspberry or the fact that the iOS clients are horrible.
RDP is even capable of a “retina” like display, and the mouse/keyboard works excellent, just like in the iPad.
Fix annoying popups on xrdp
Fix the “Authentication Required to Create Managed Color Device” bug
Fix 64 Bit issue with xrdp
There is currently a huge bug on the raspberry that makes xrdp “die” after you connect, I don’t plan to pretend that I know the issue, so I will only tell you, that it has to do with DRI, so you have to disable DRI on xrdp
One line fix;
sudo sed -i -e 's/\(Option *"DRMDevice"\)/#\1/' /etc/X11/xrdp/xorg.conf
The endnote; Magnets
One of the things you realize quickly, this kills the portability of the iPad. After thinking about how Apple is using magnets to augment phones and tablets. It made me think; what if we piggyback the magnets to mount the raspberry to the iPad? These require the magic keyboard, but it looks awesome; there are several sections of the iPad that has magnets; this is an ugly diagram of where you can find magnets;
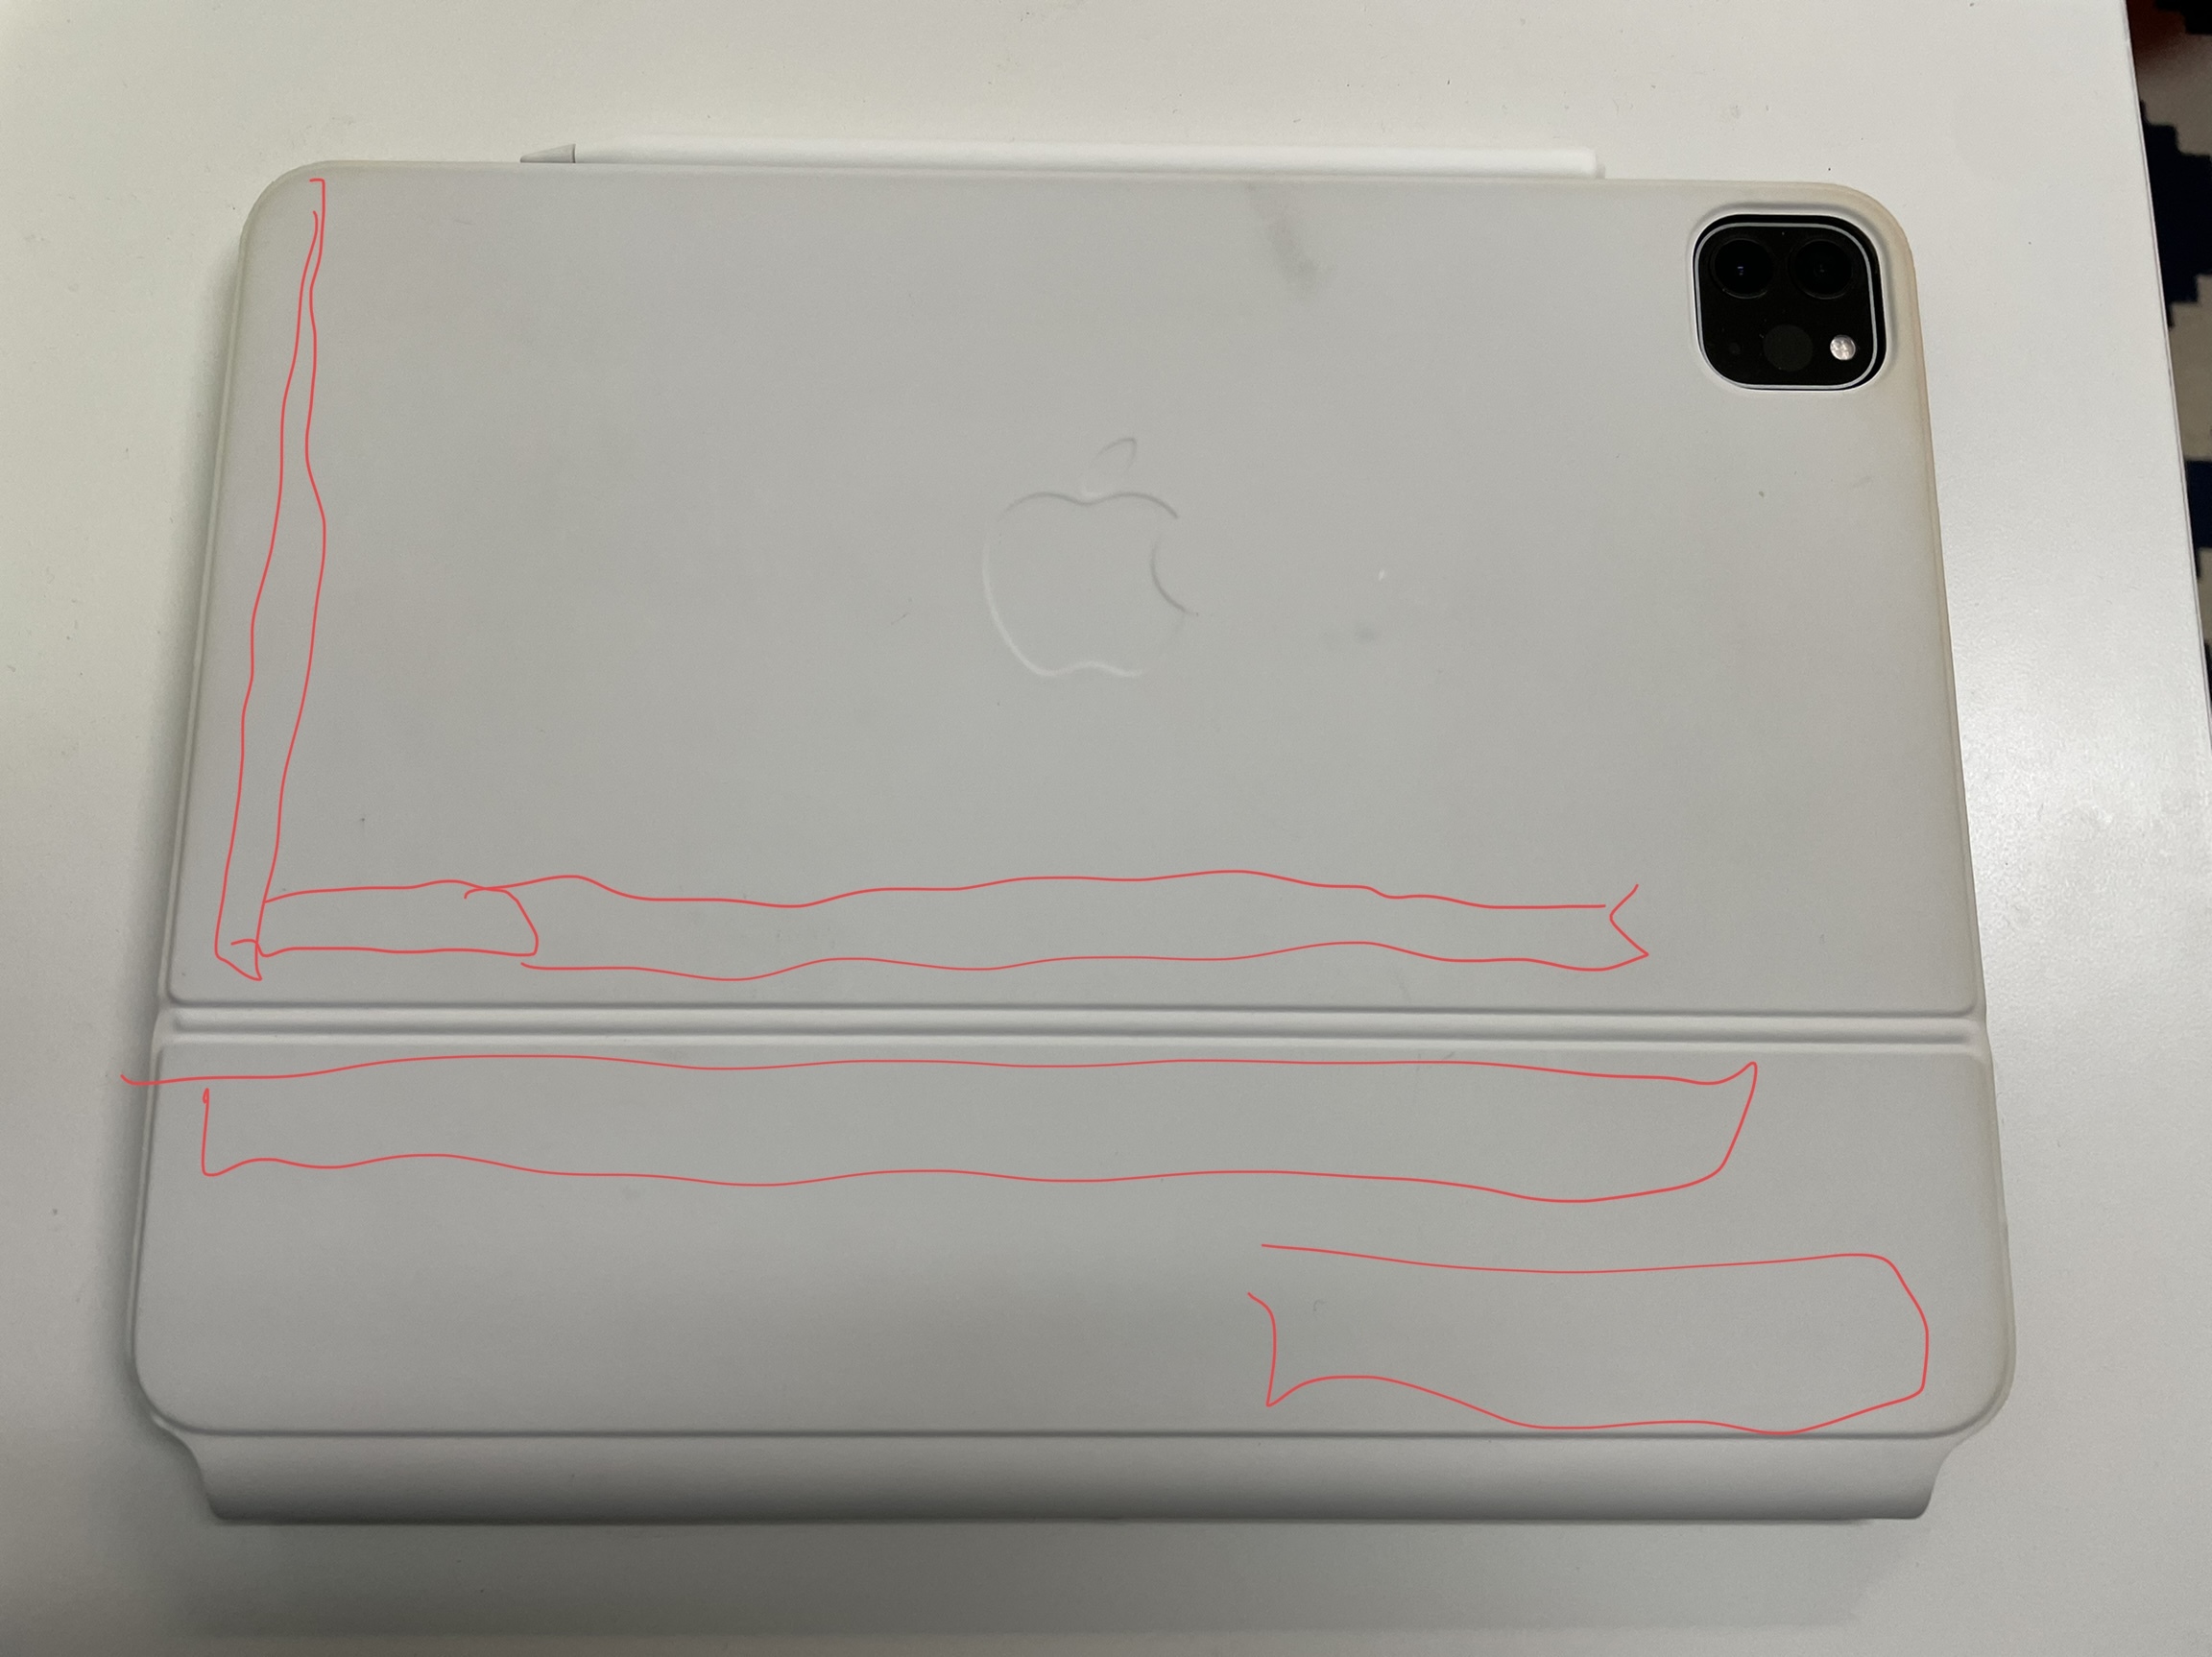
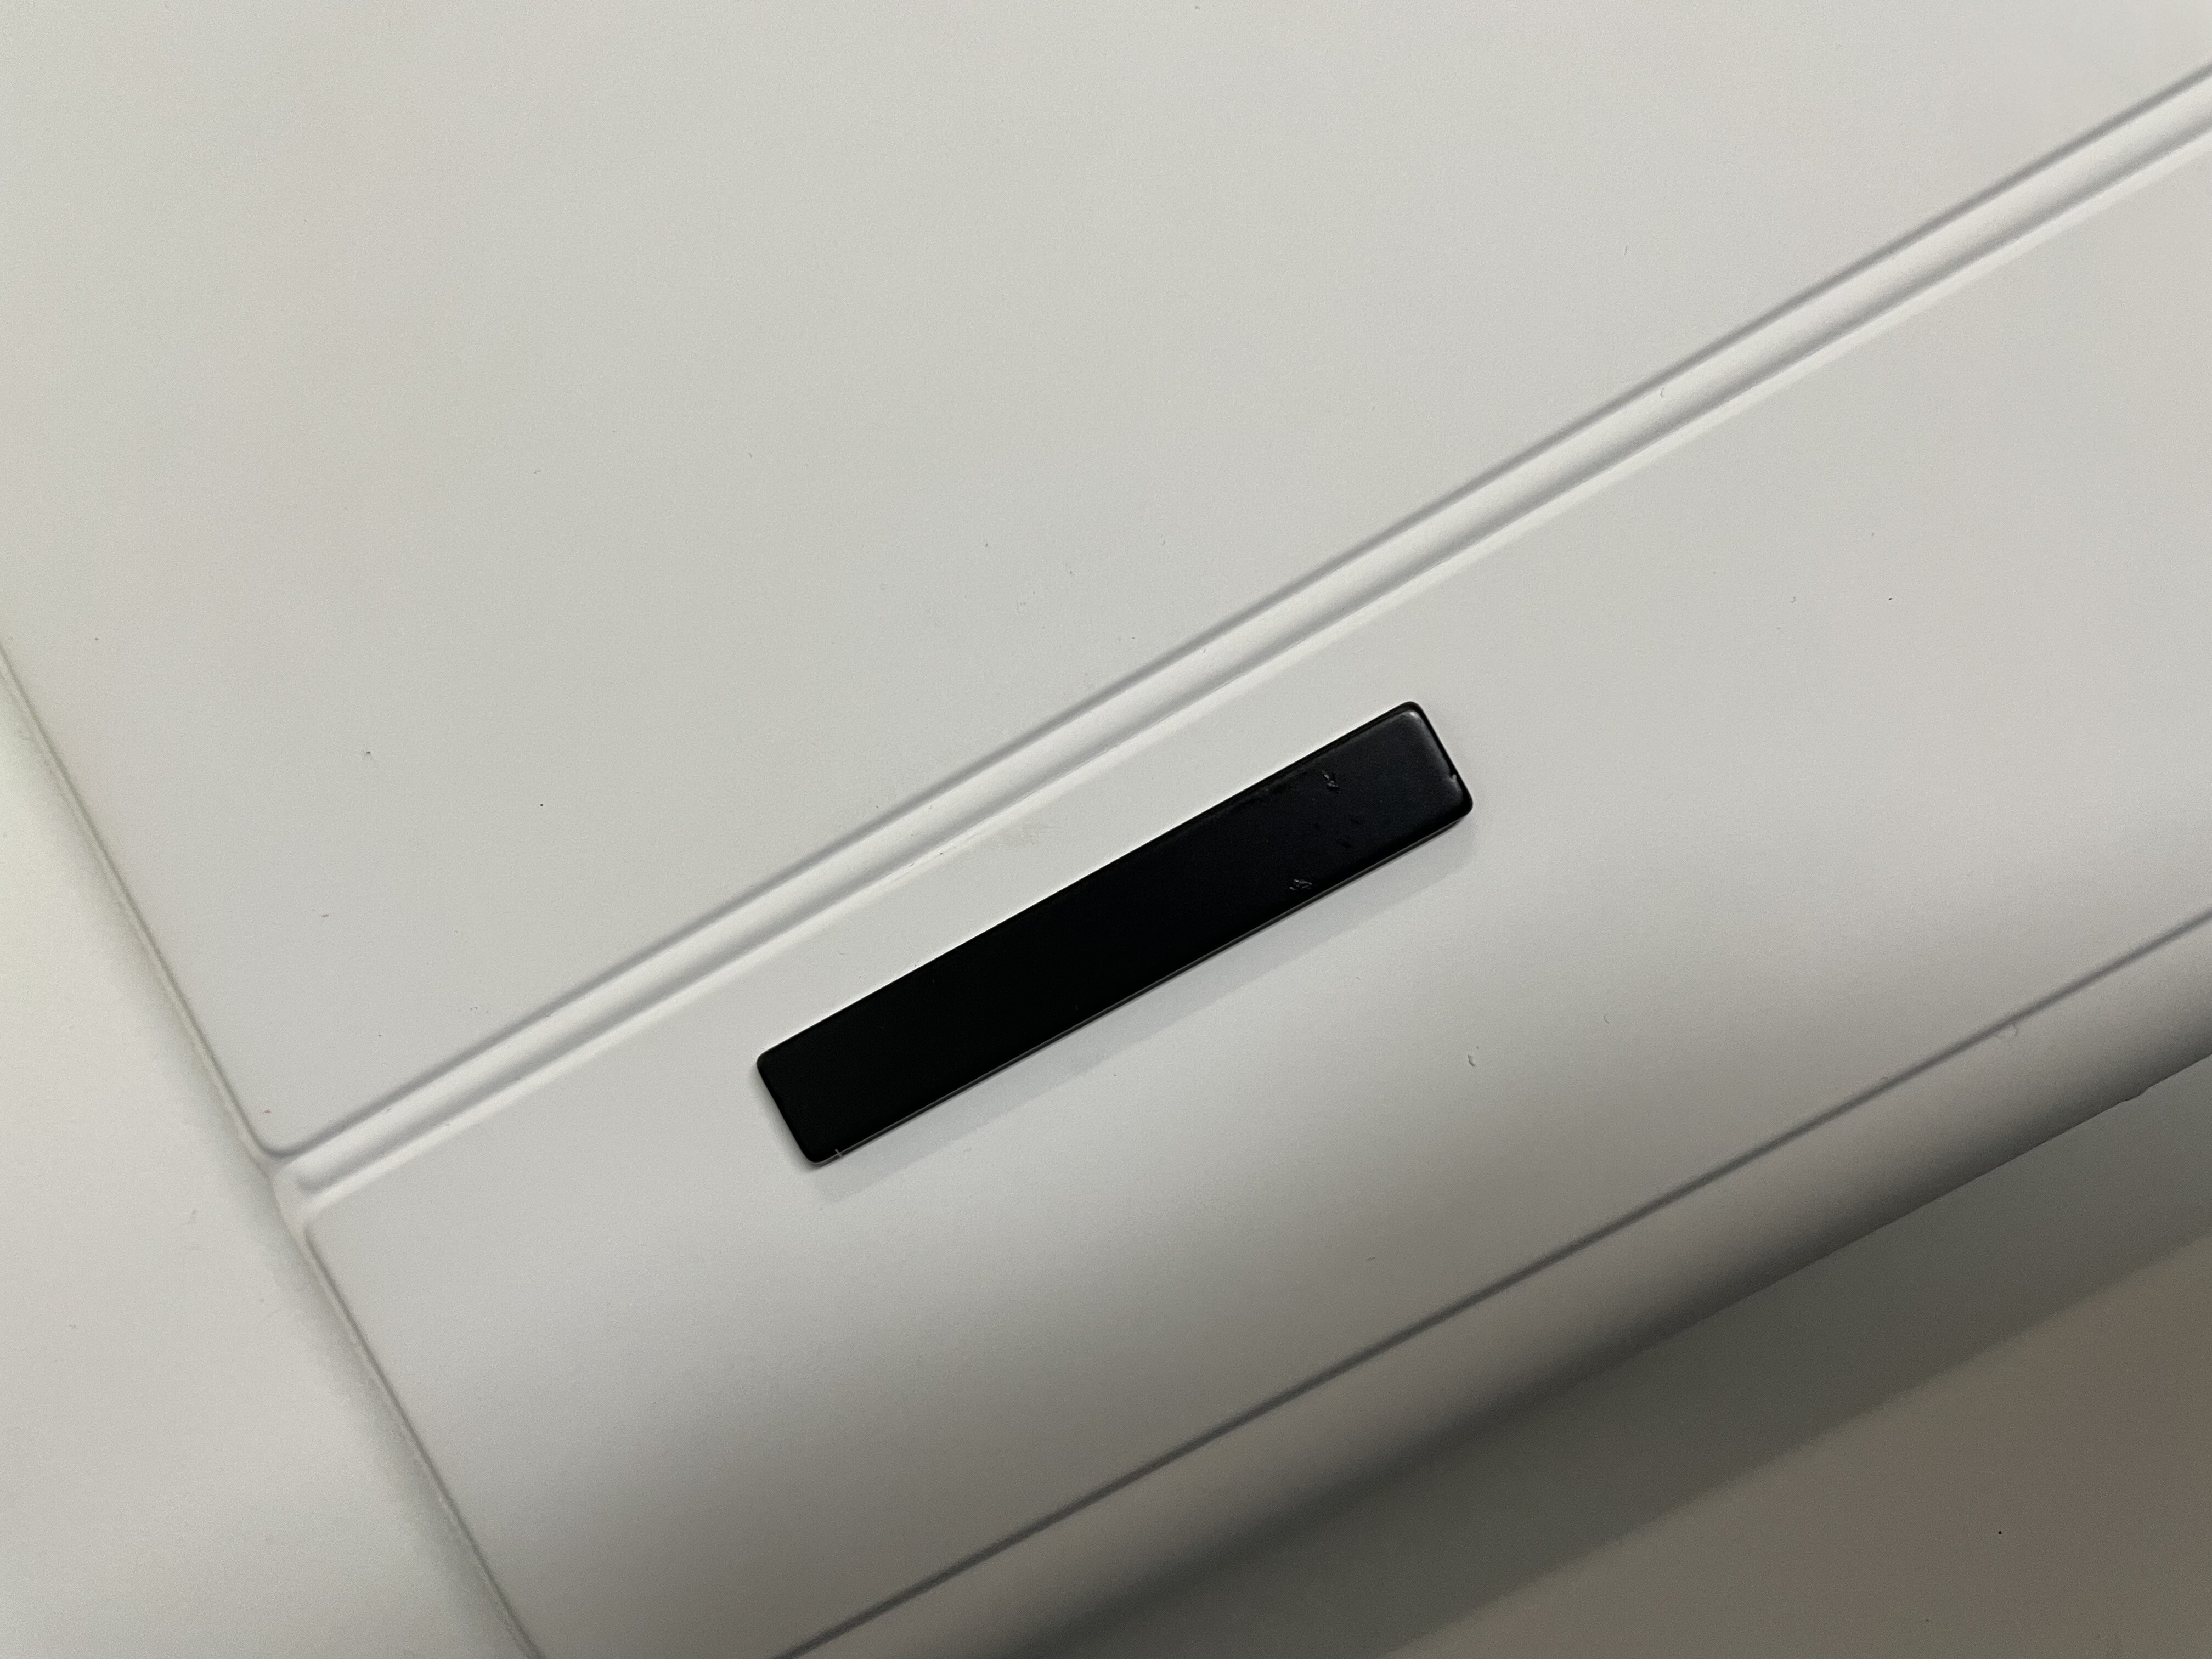
After trying circular magnets, I found these rectangular ones that work awesome
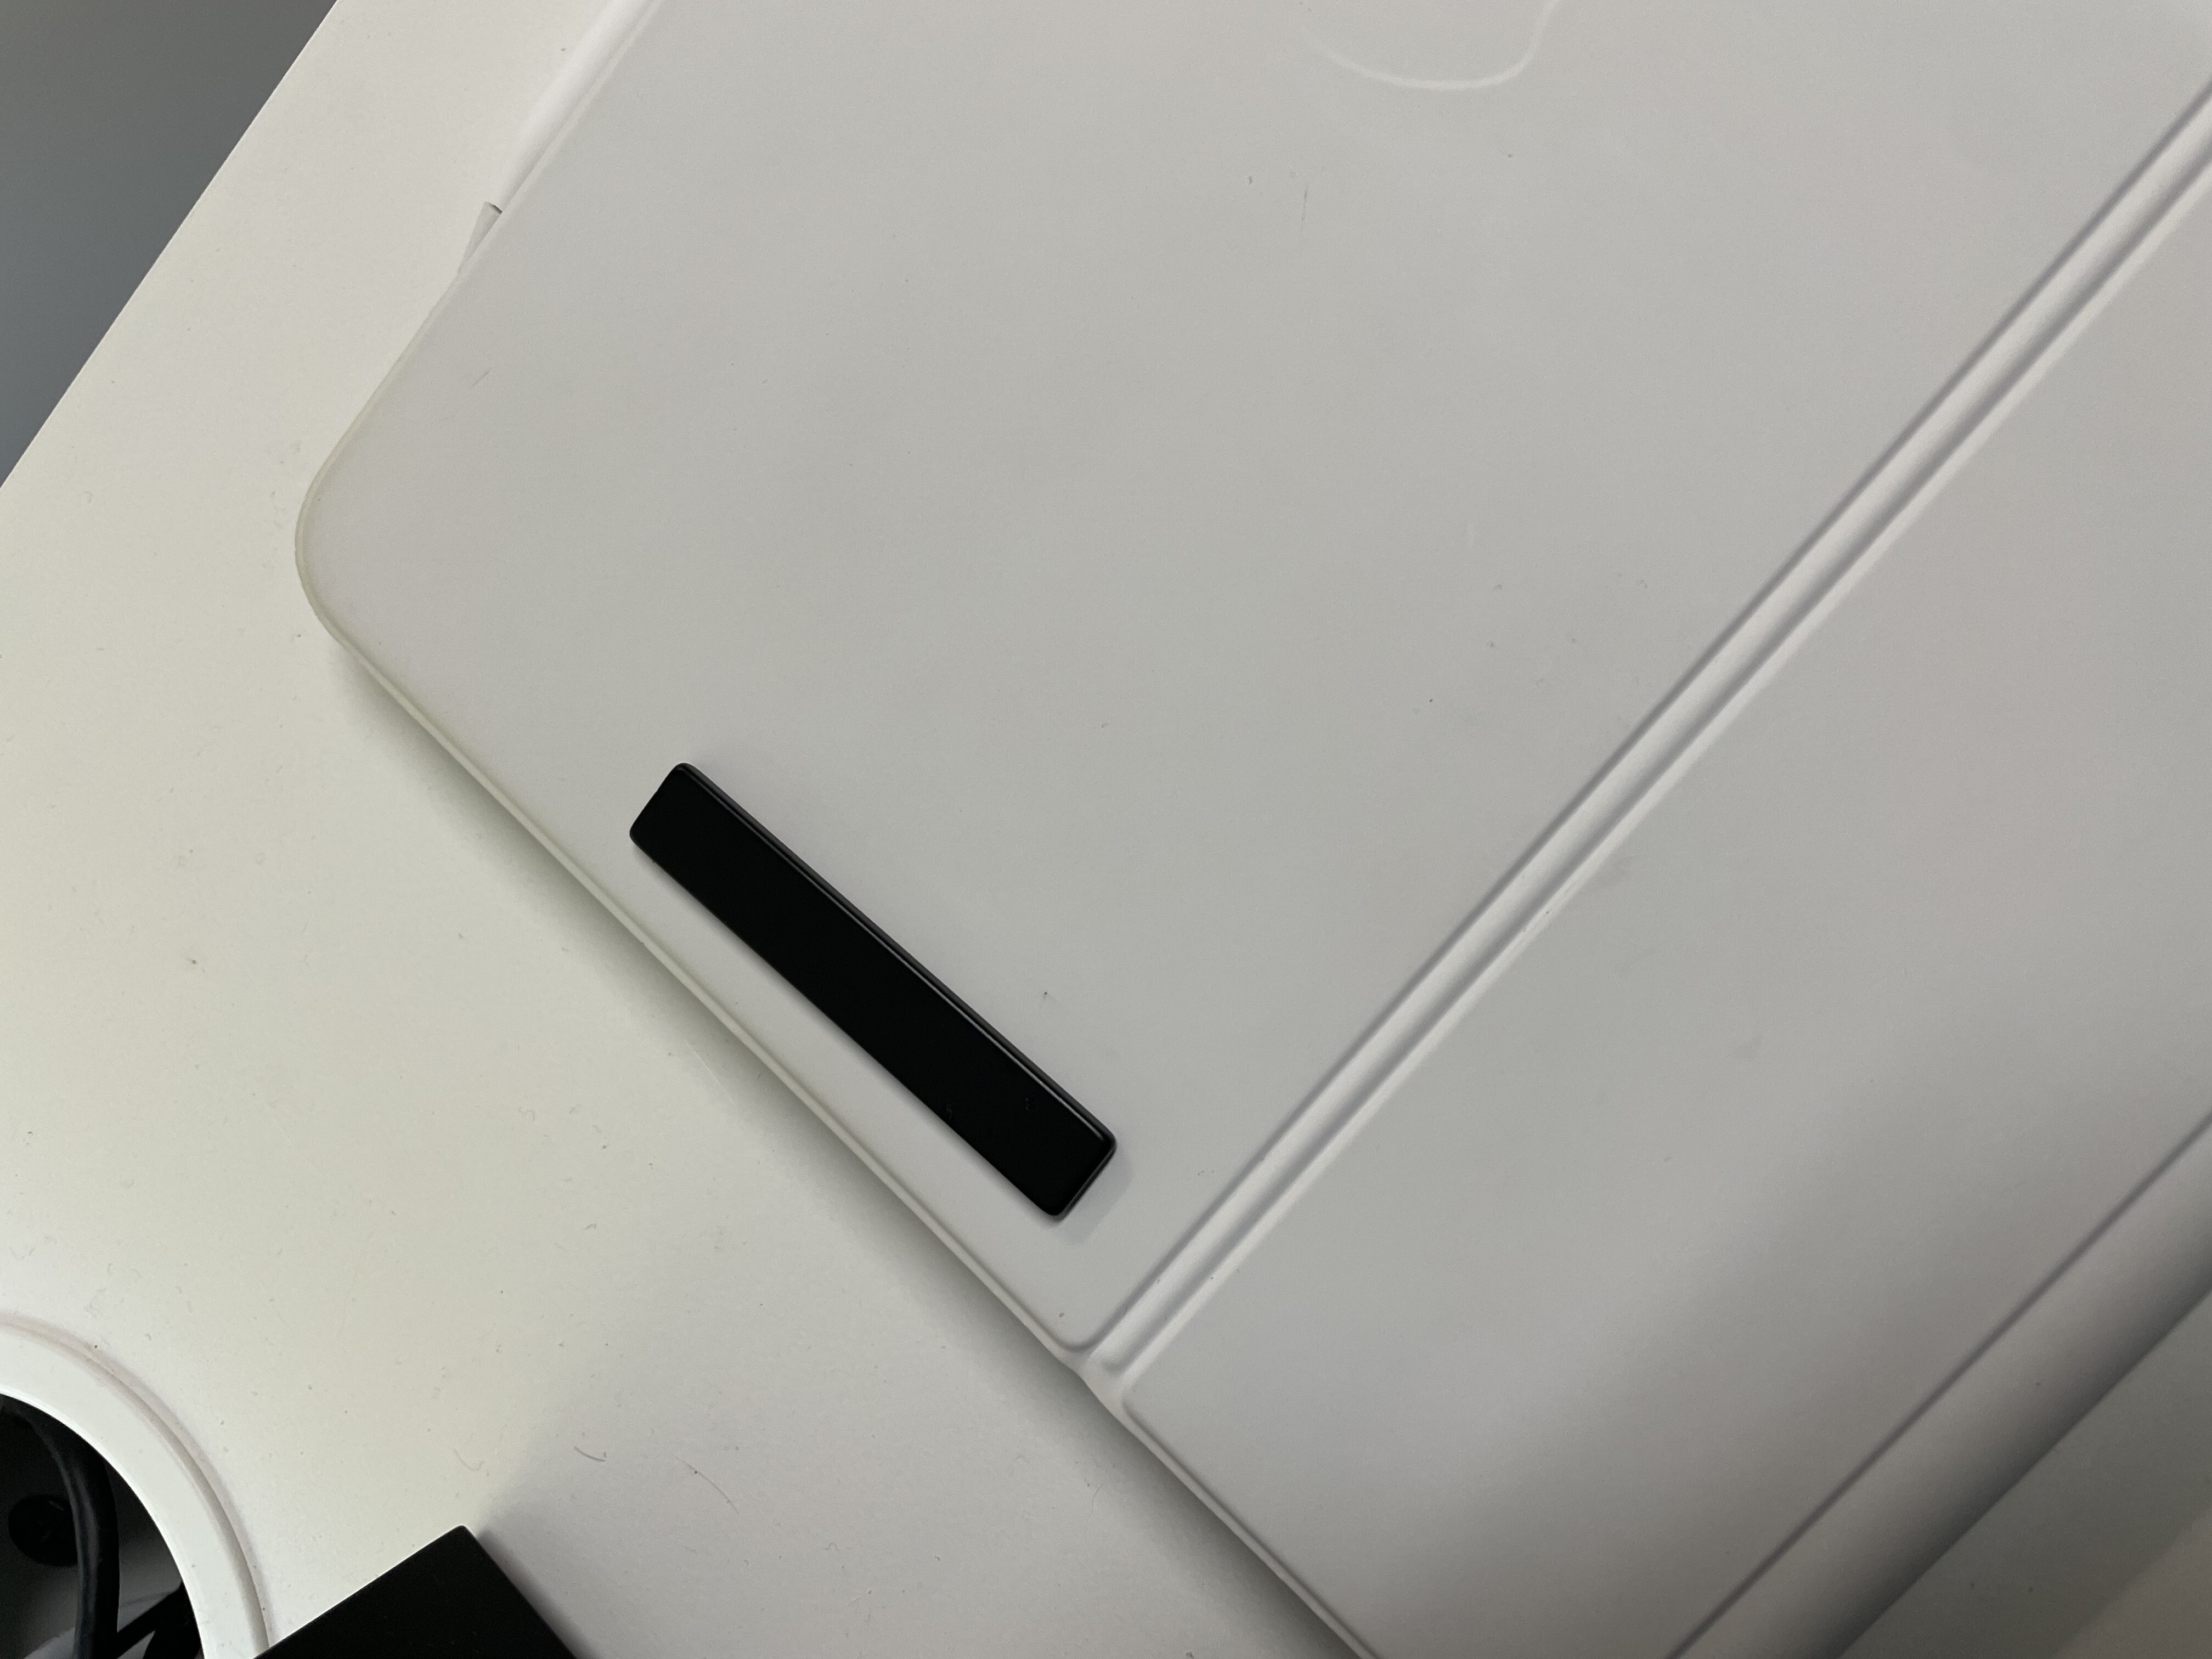
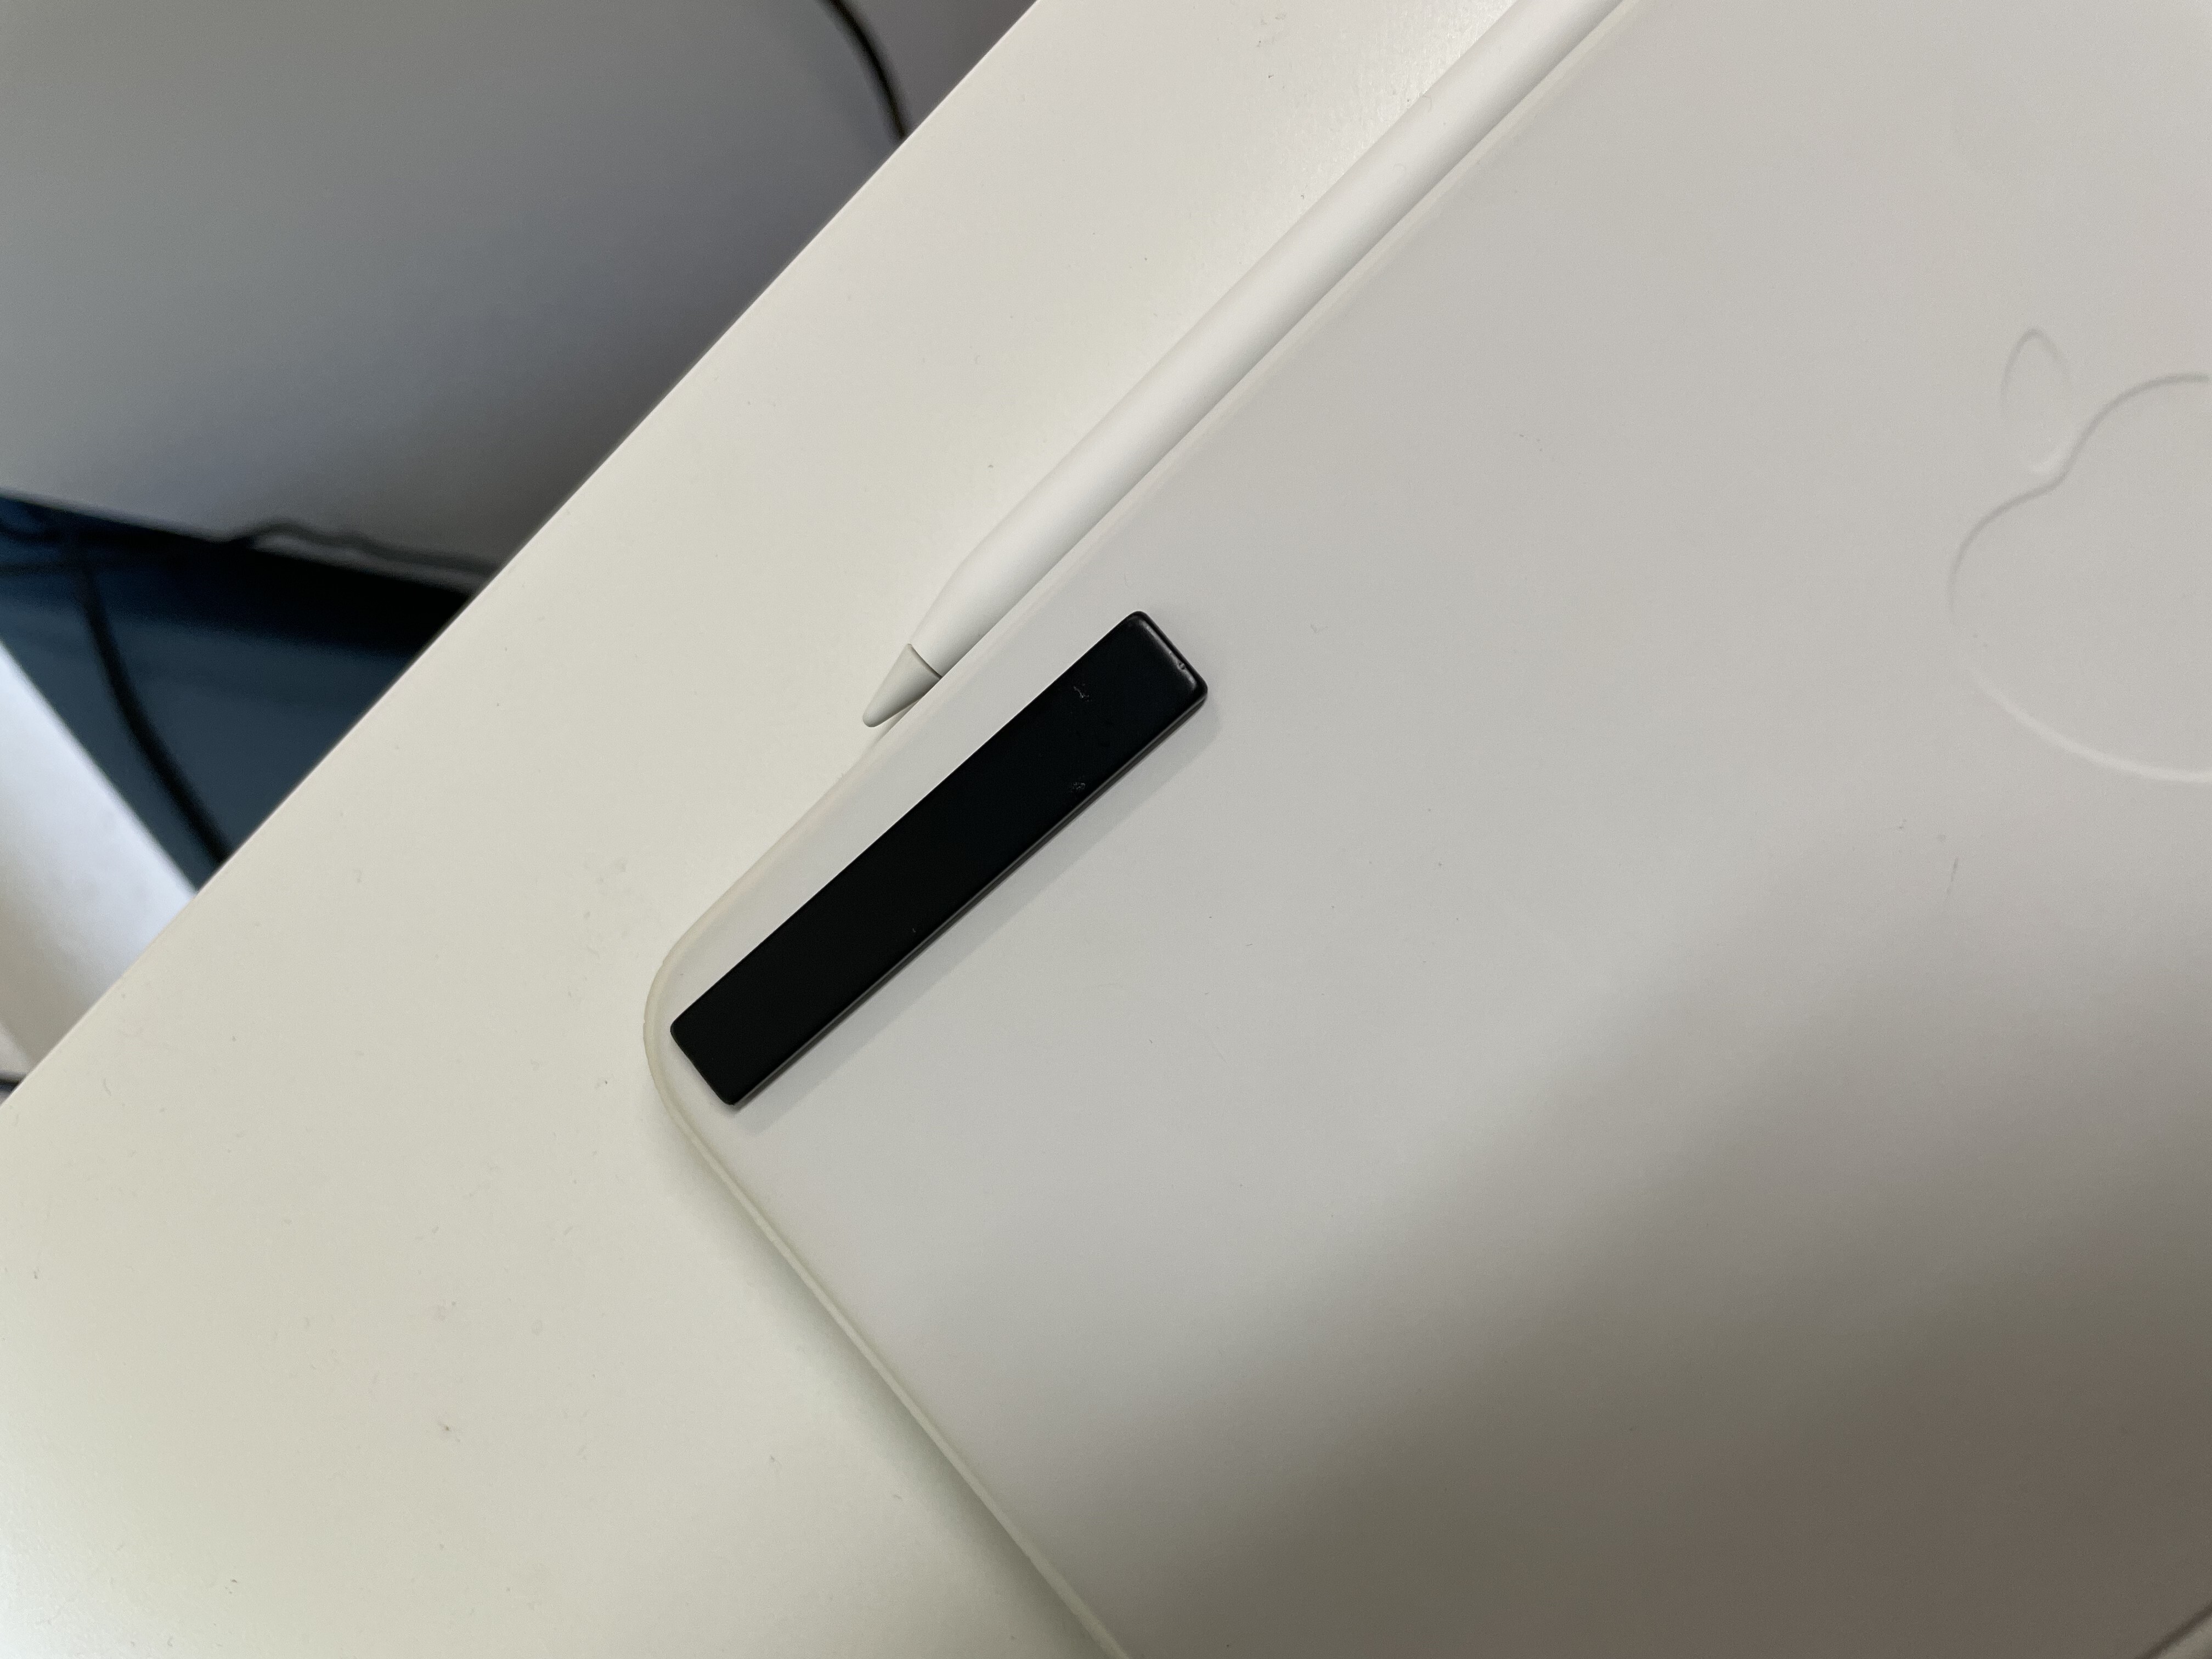
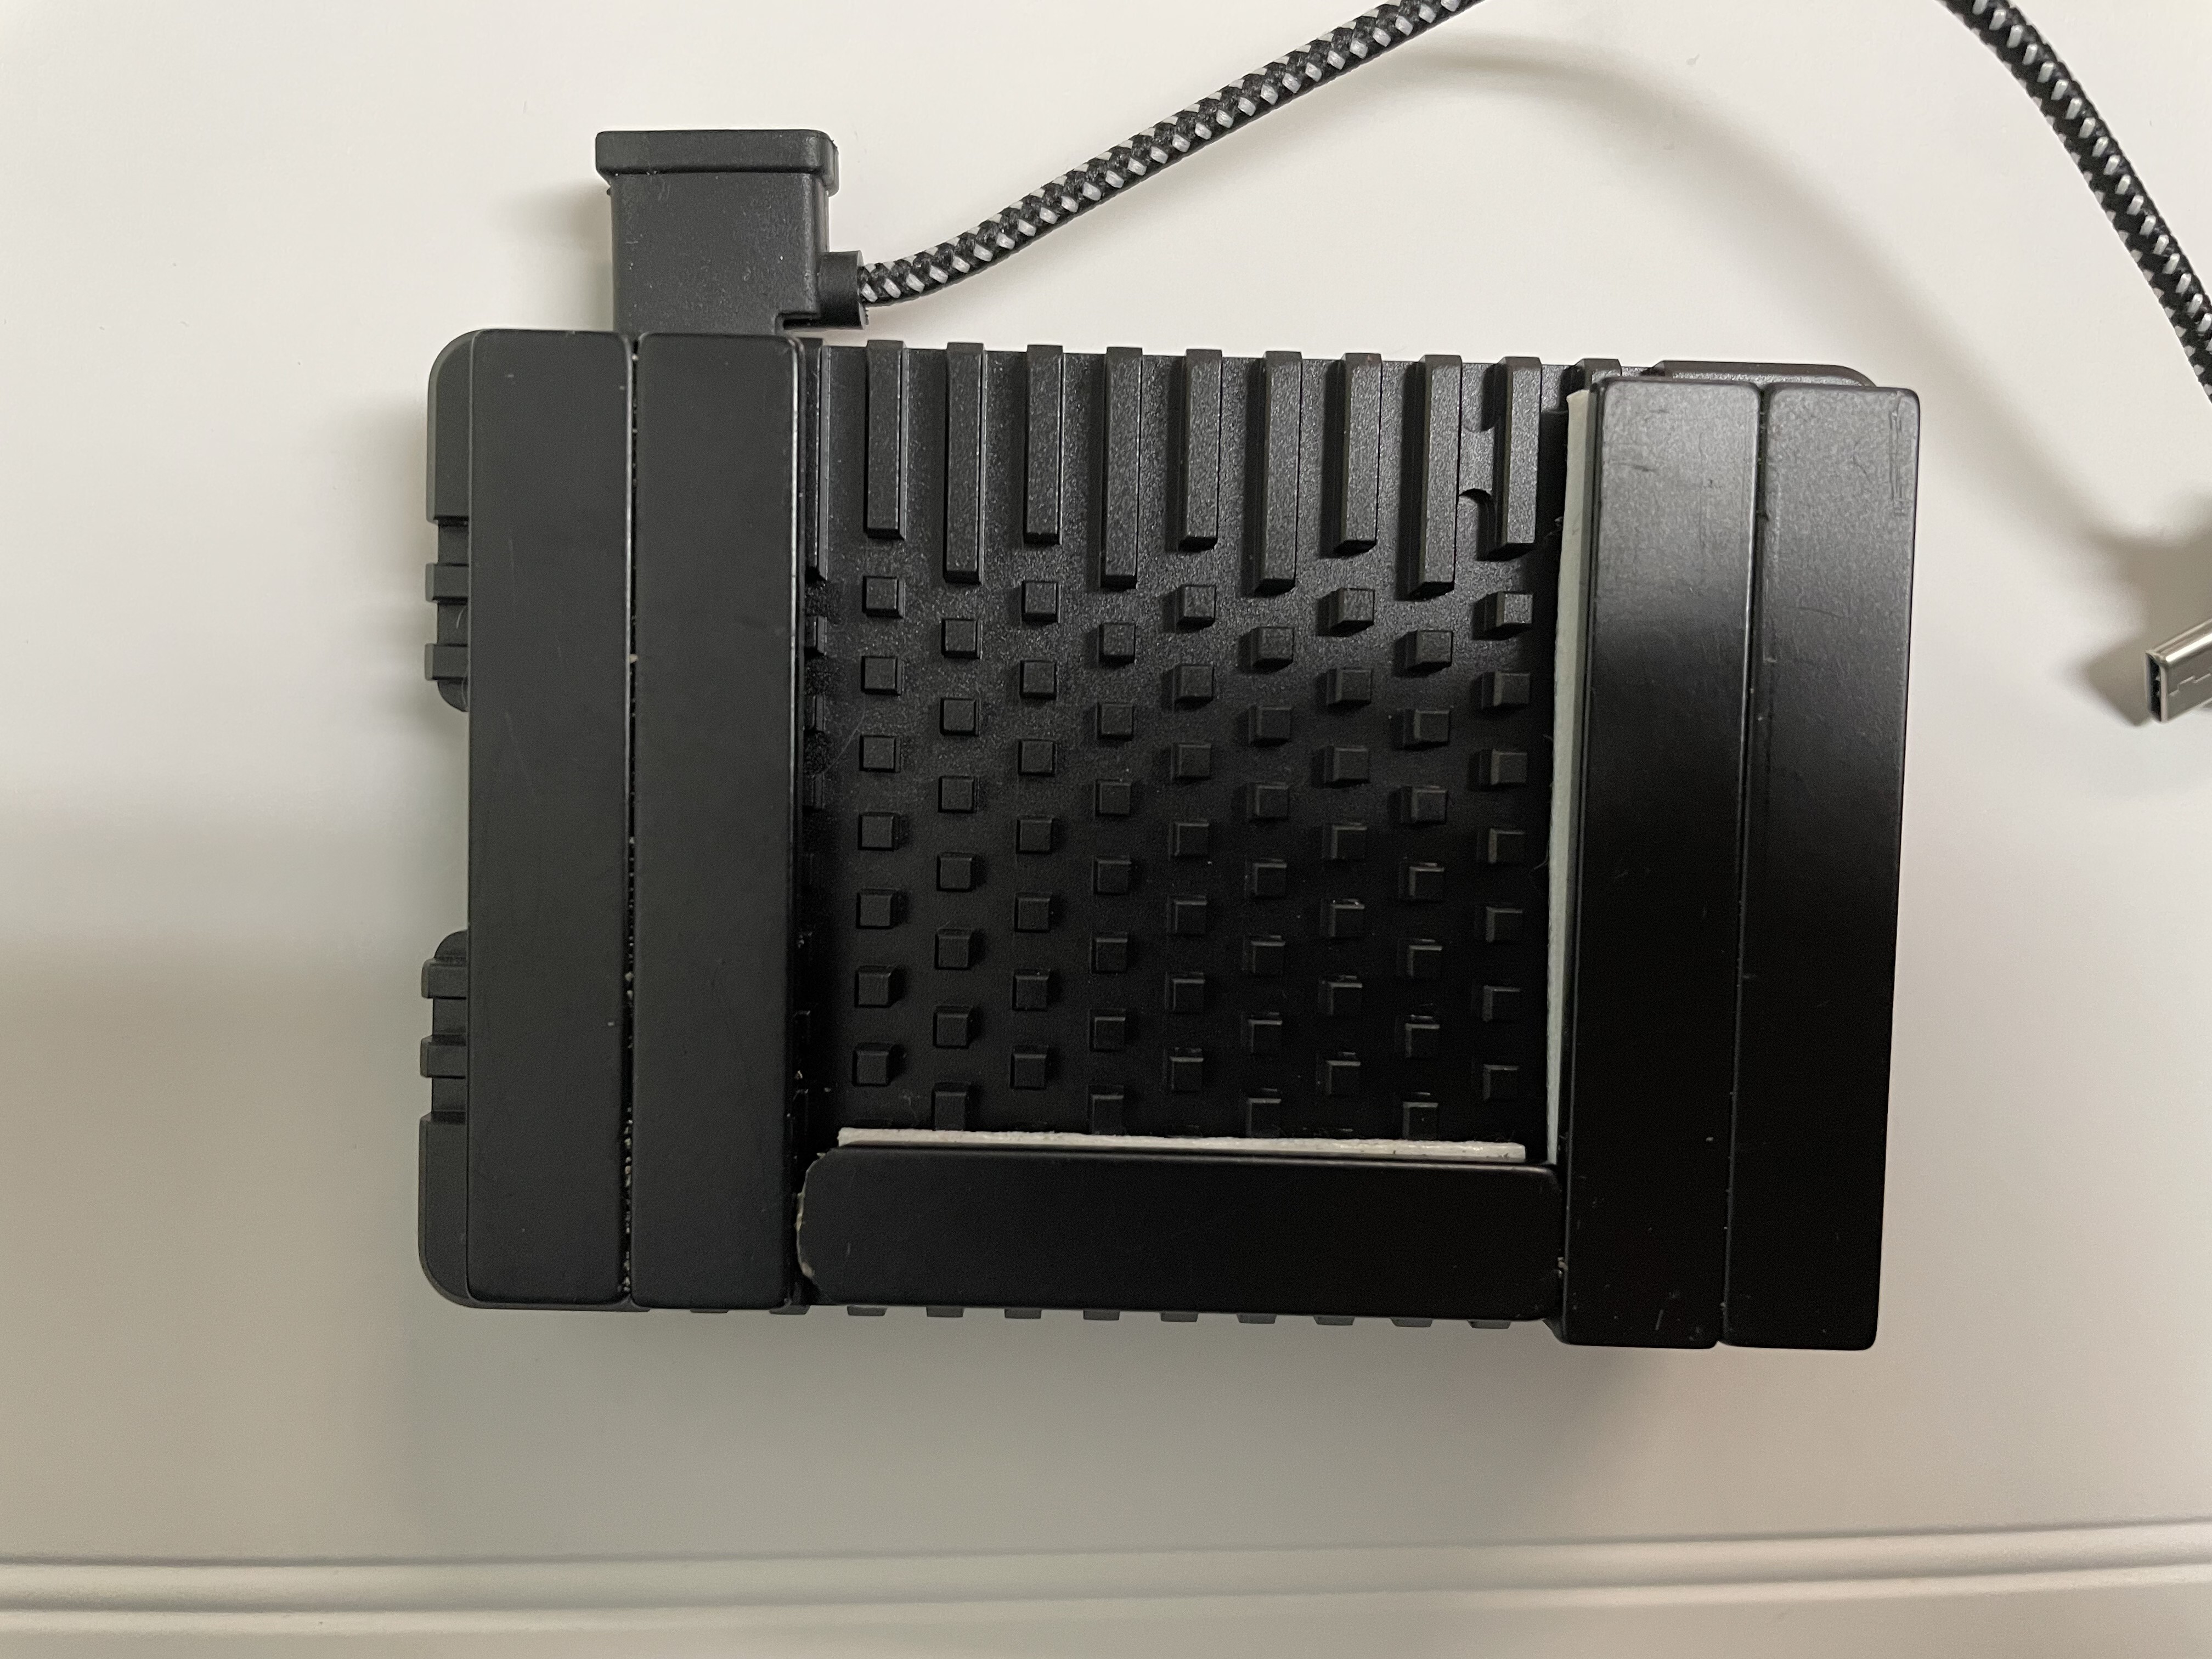
I used 2 side tape to attach it to the raspberry;
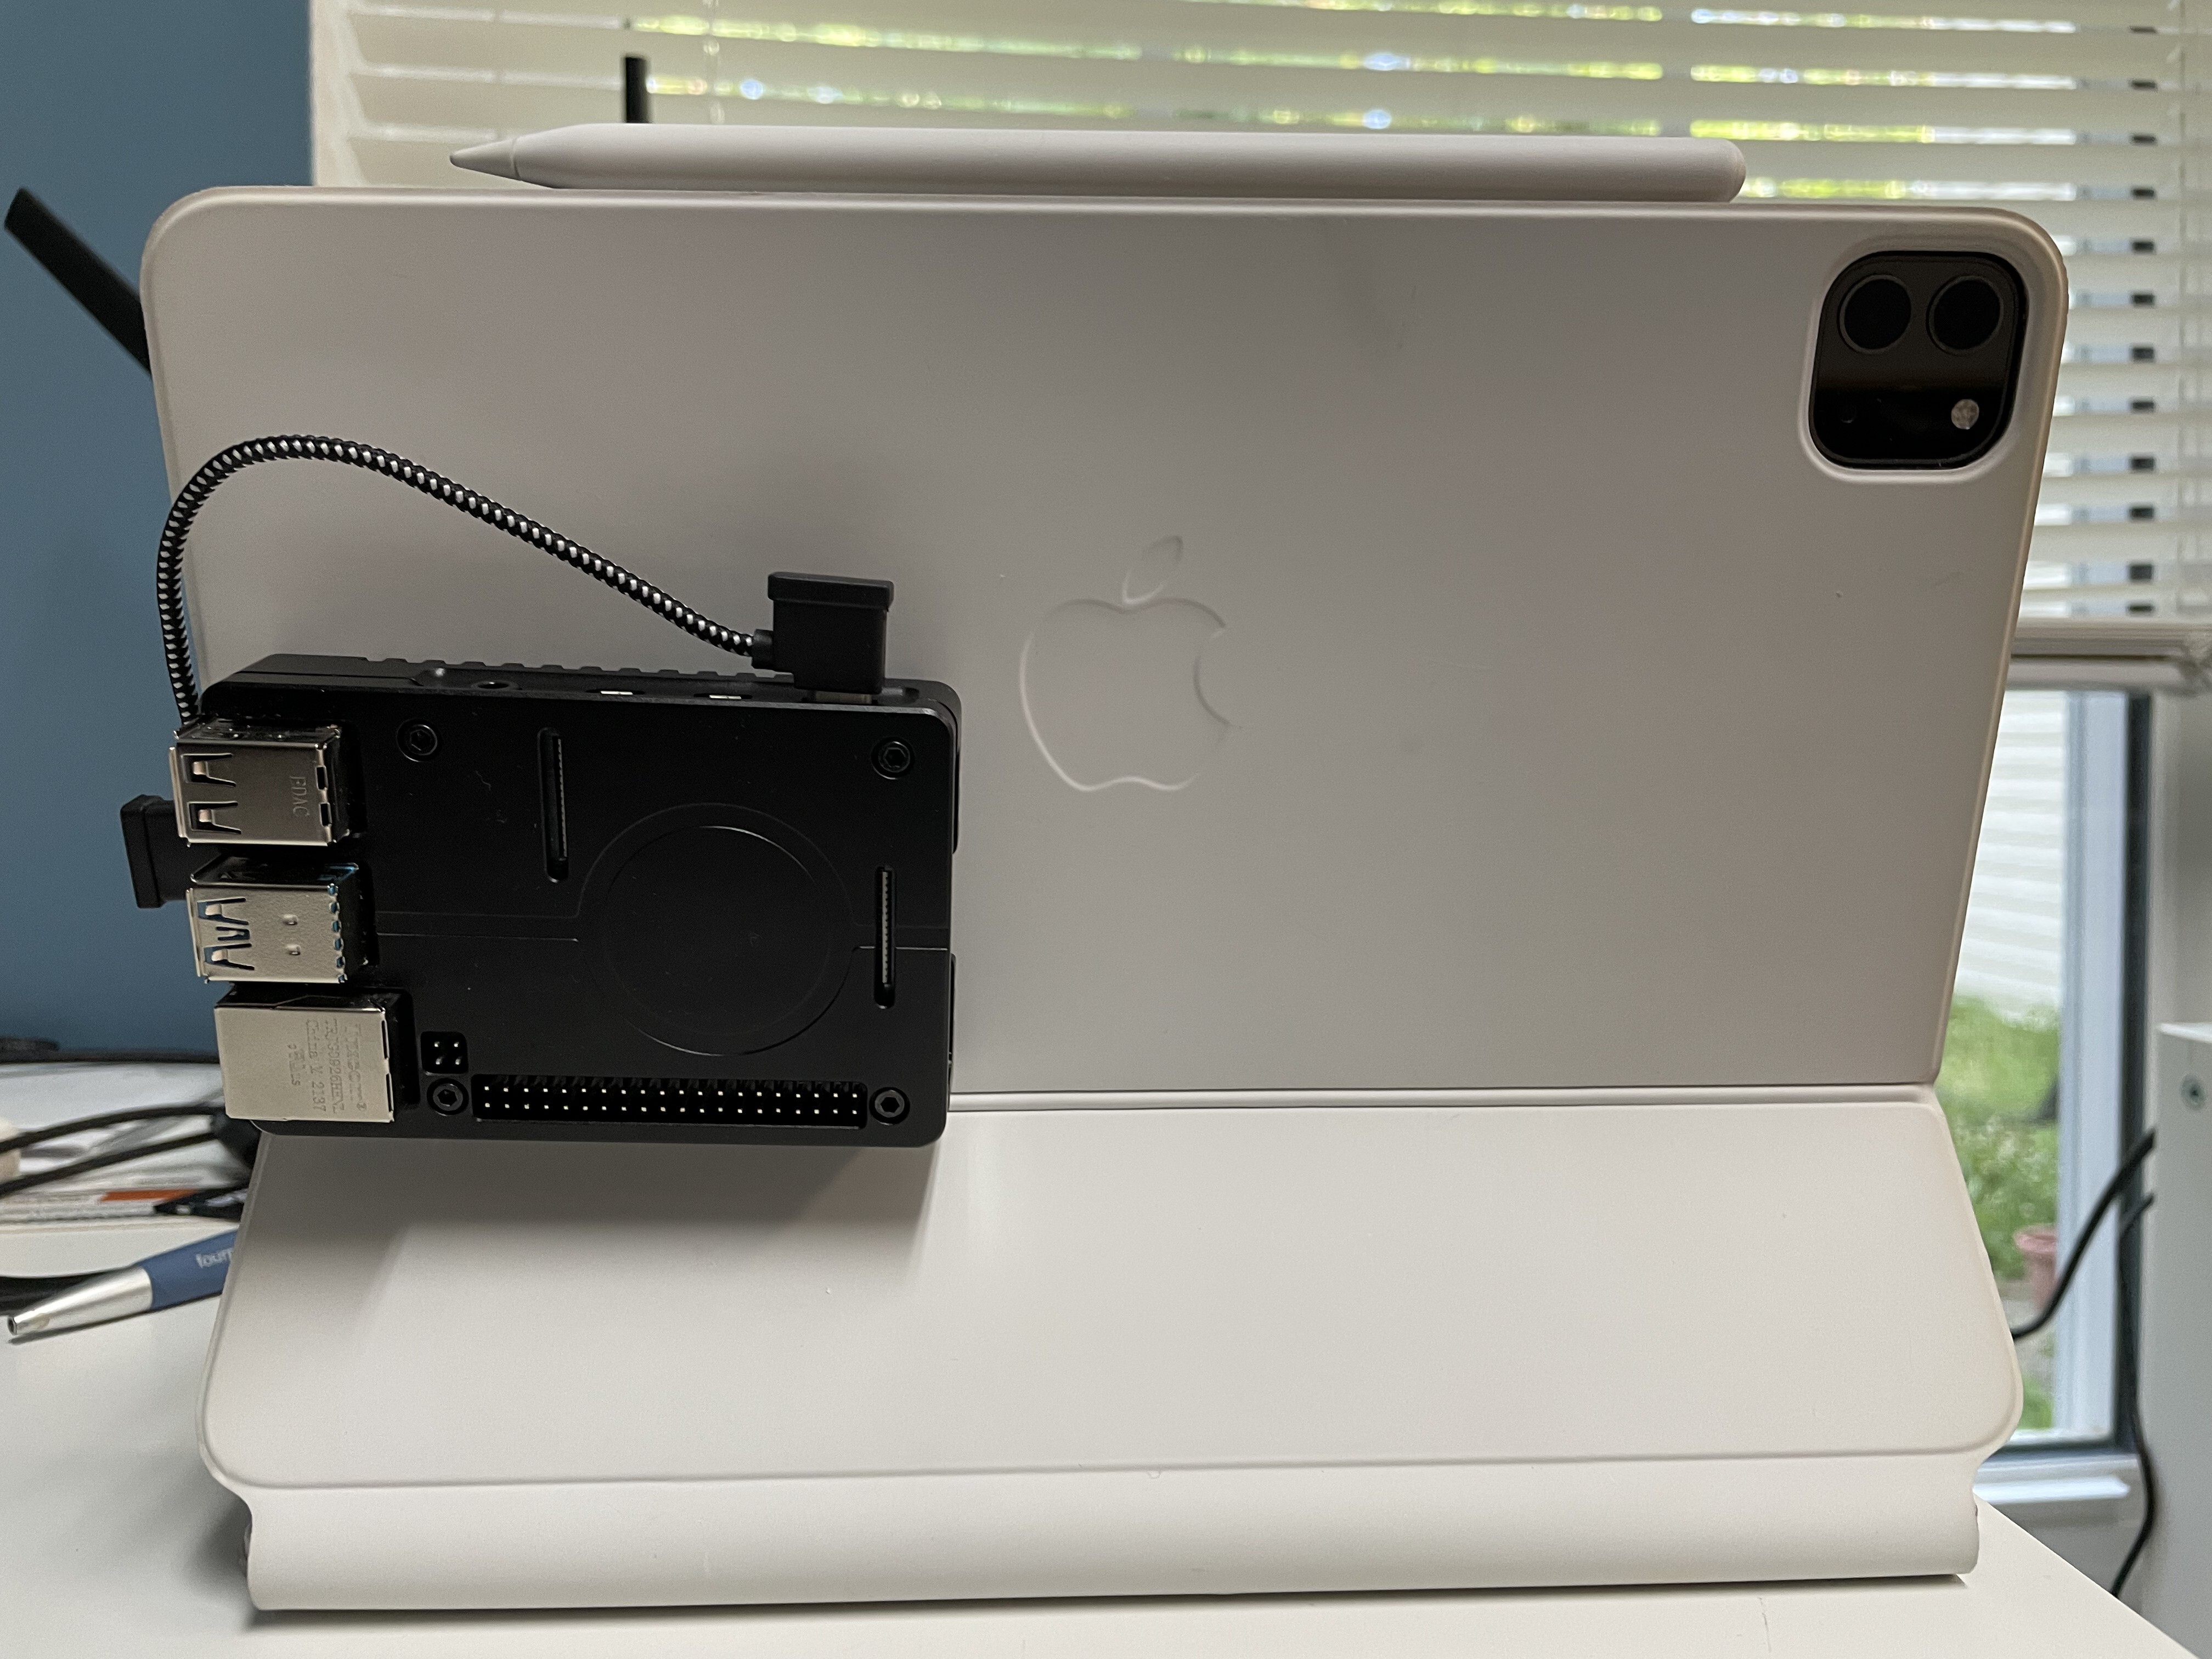
And bingo !, now you can attach it to the back of the iPad
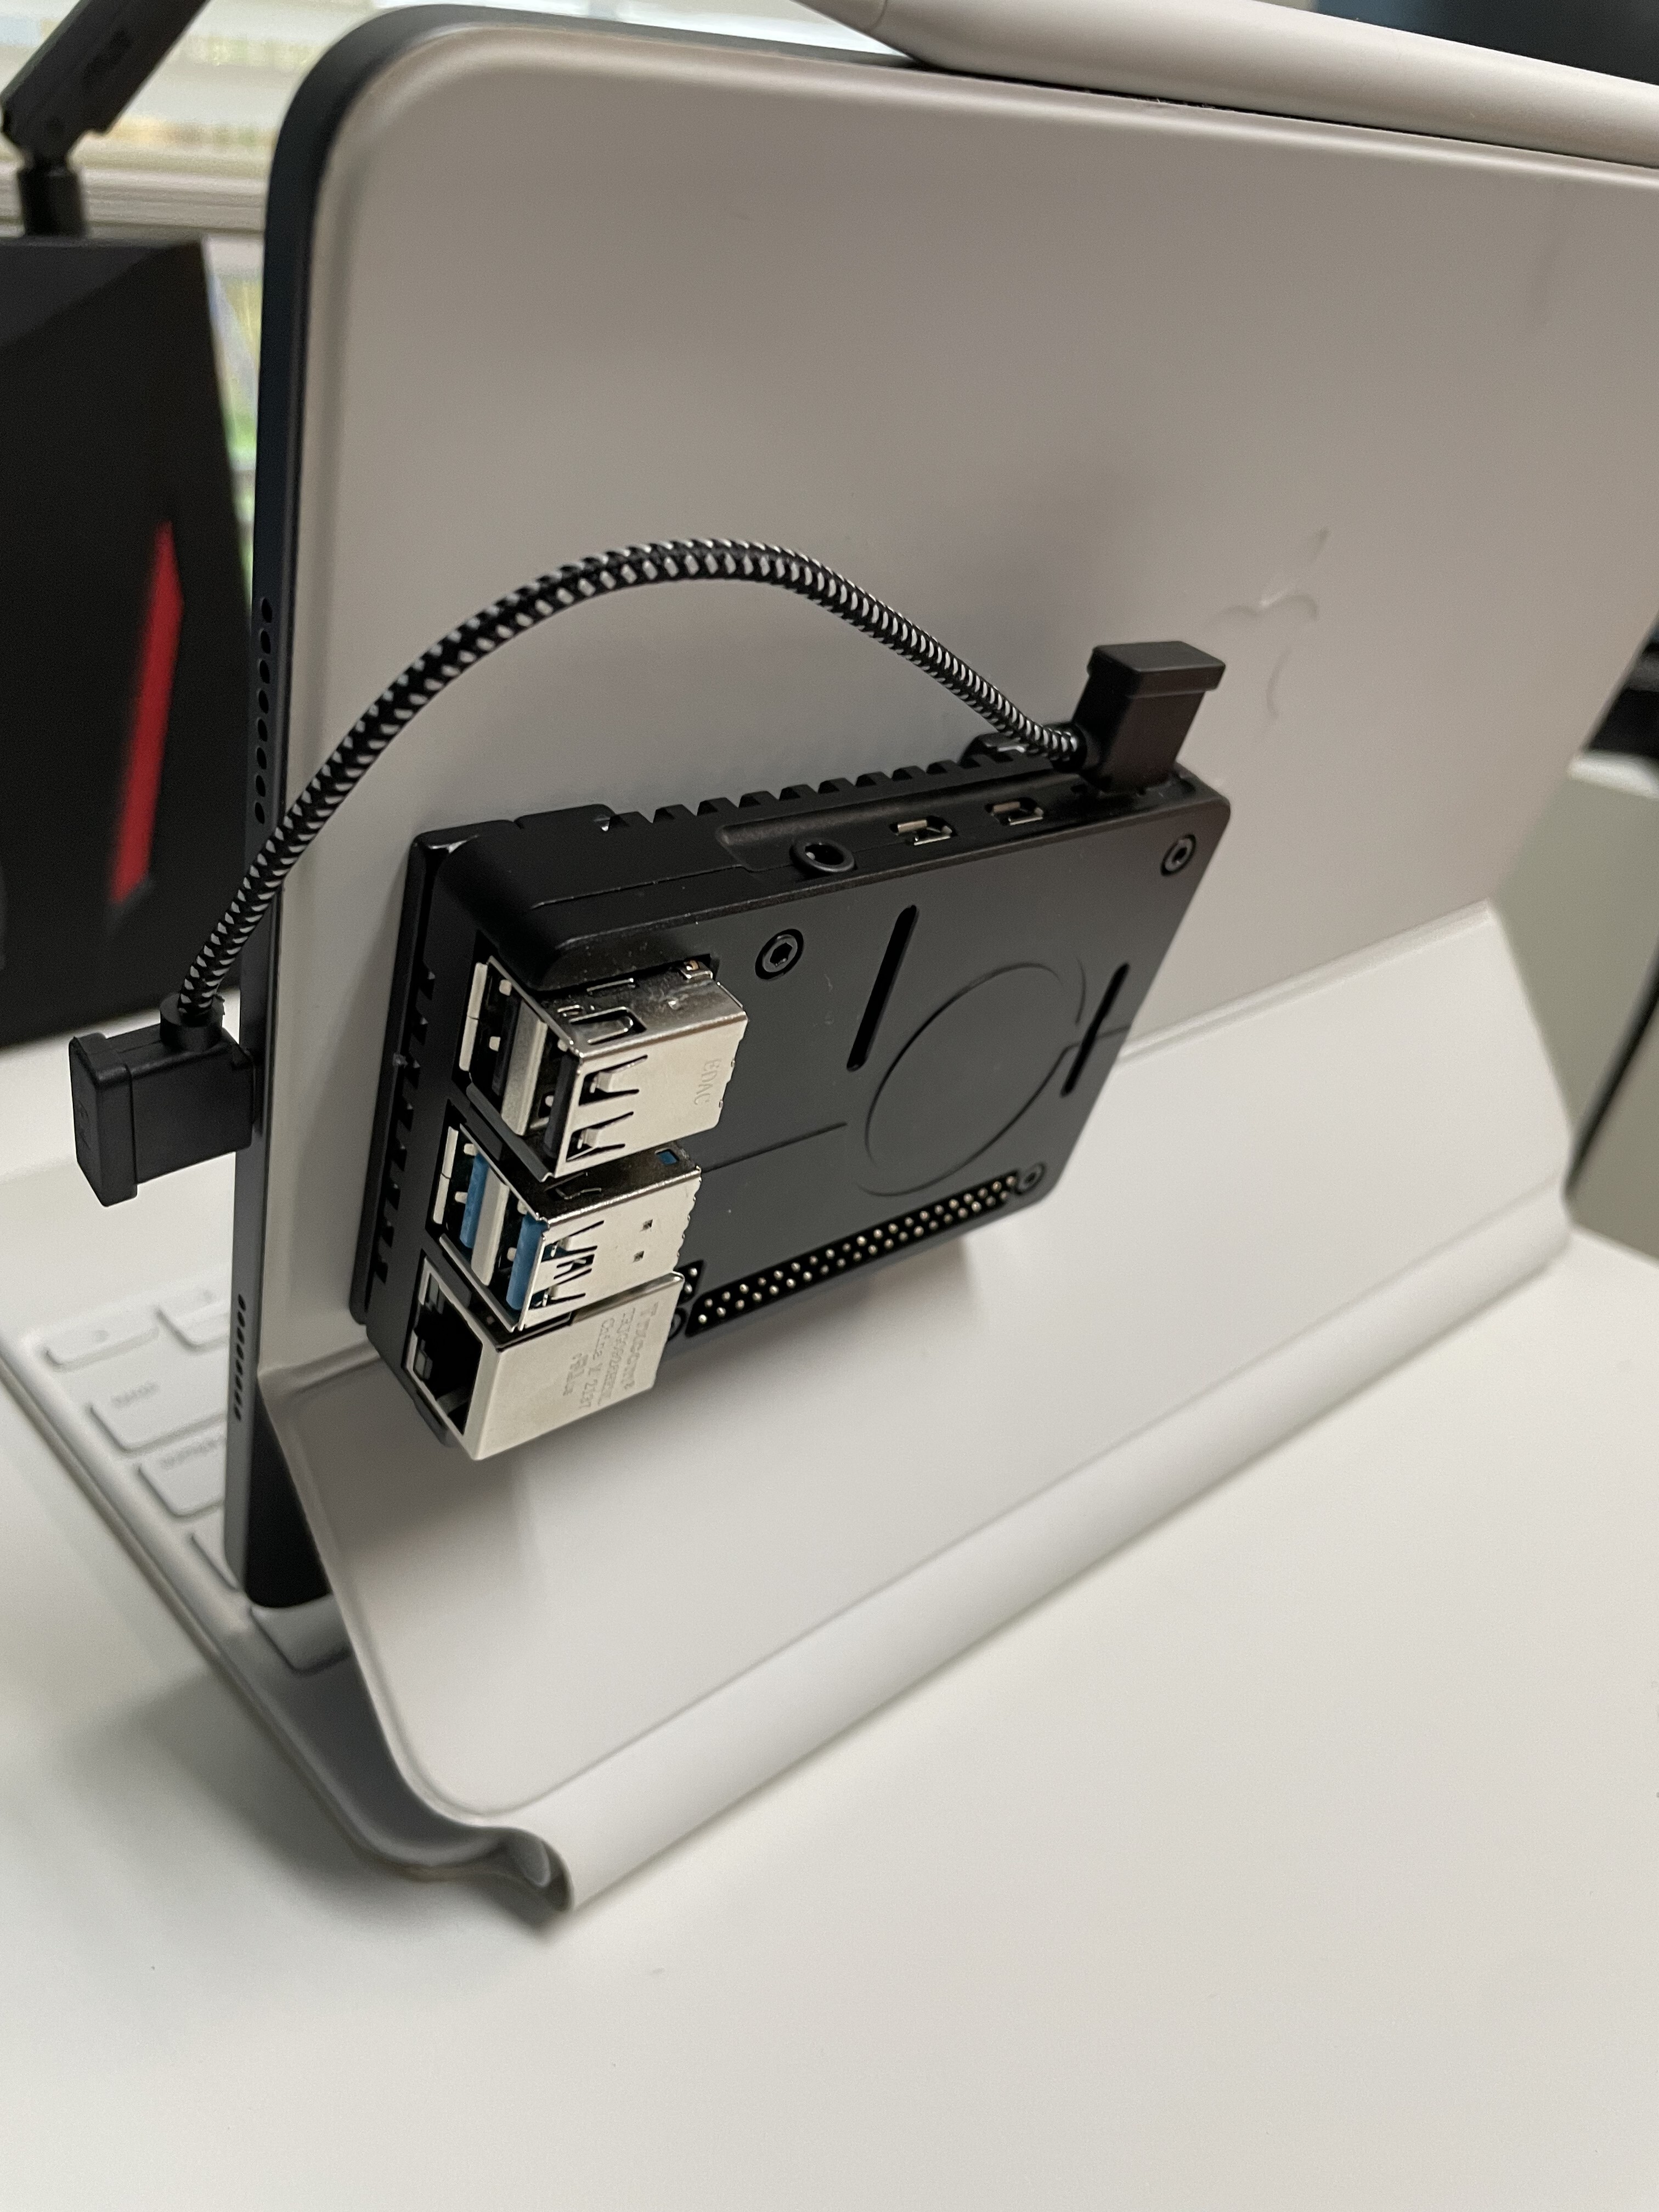
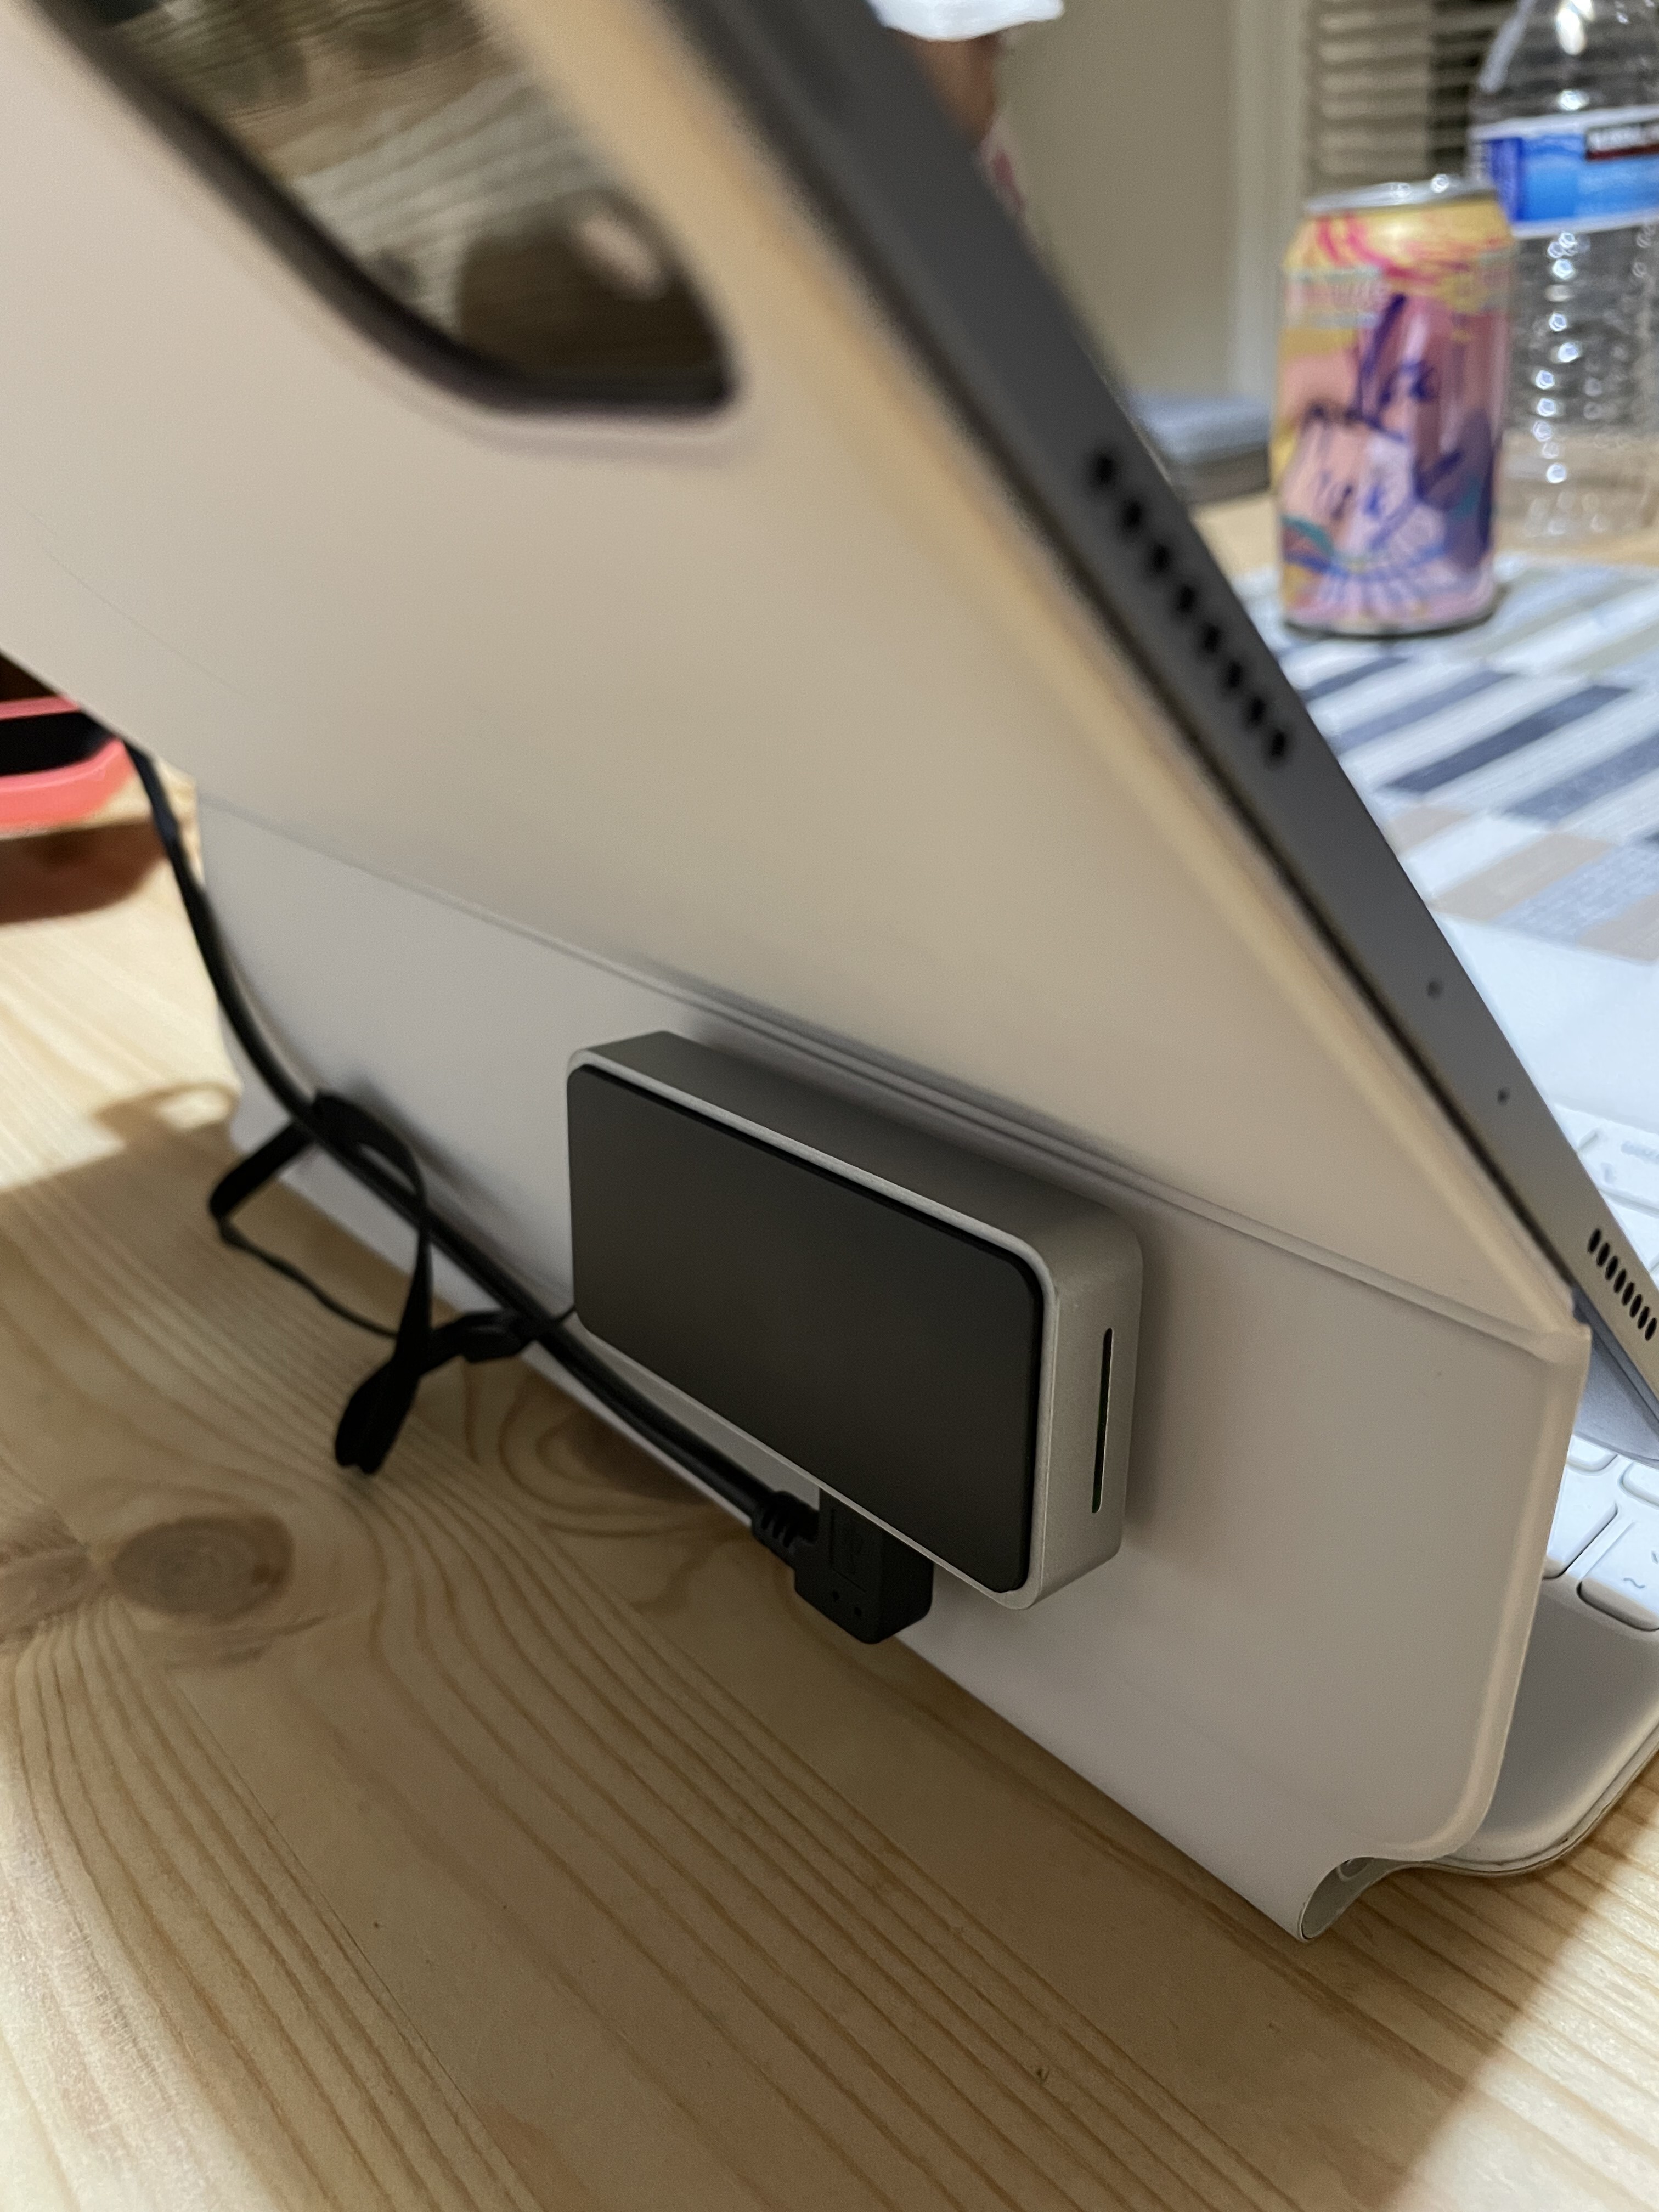
It also work great if you prefer to use a Zero (this is a Z2W)
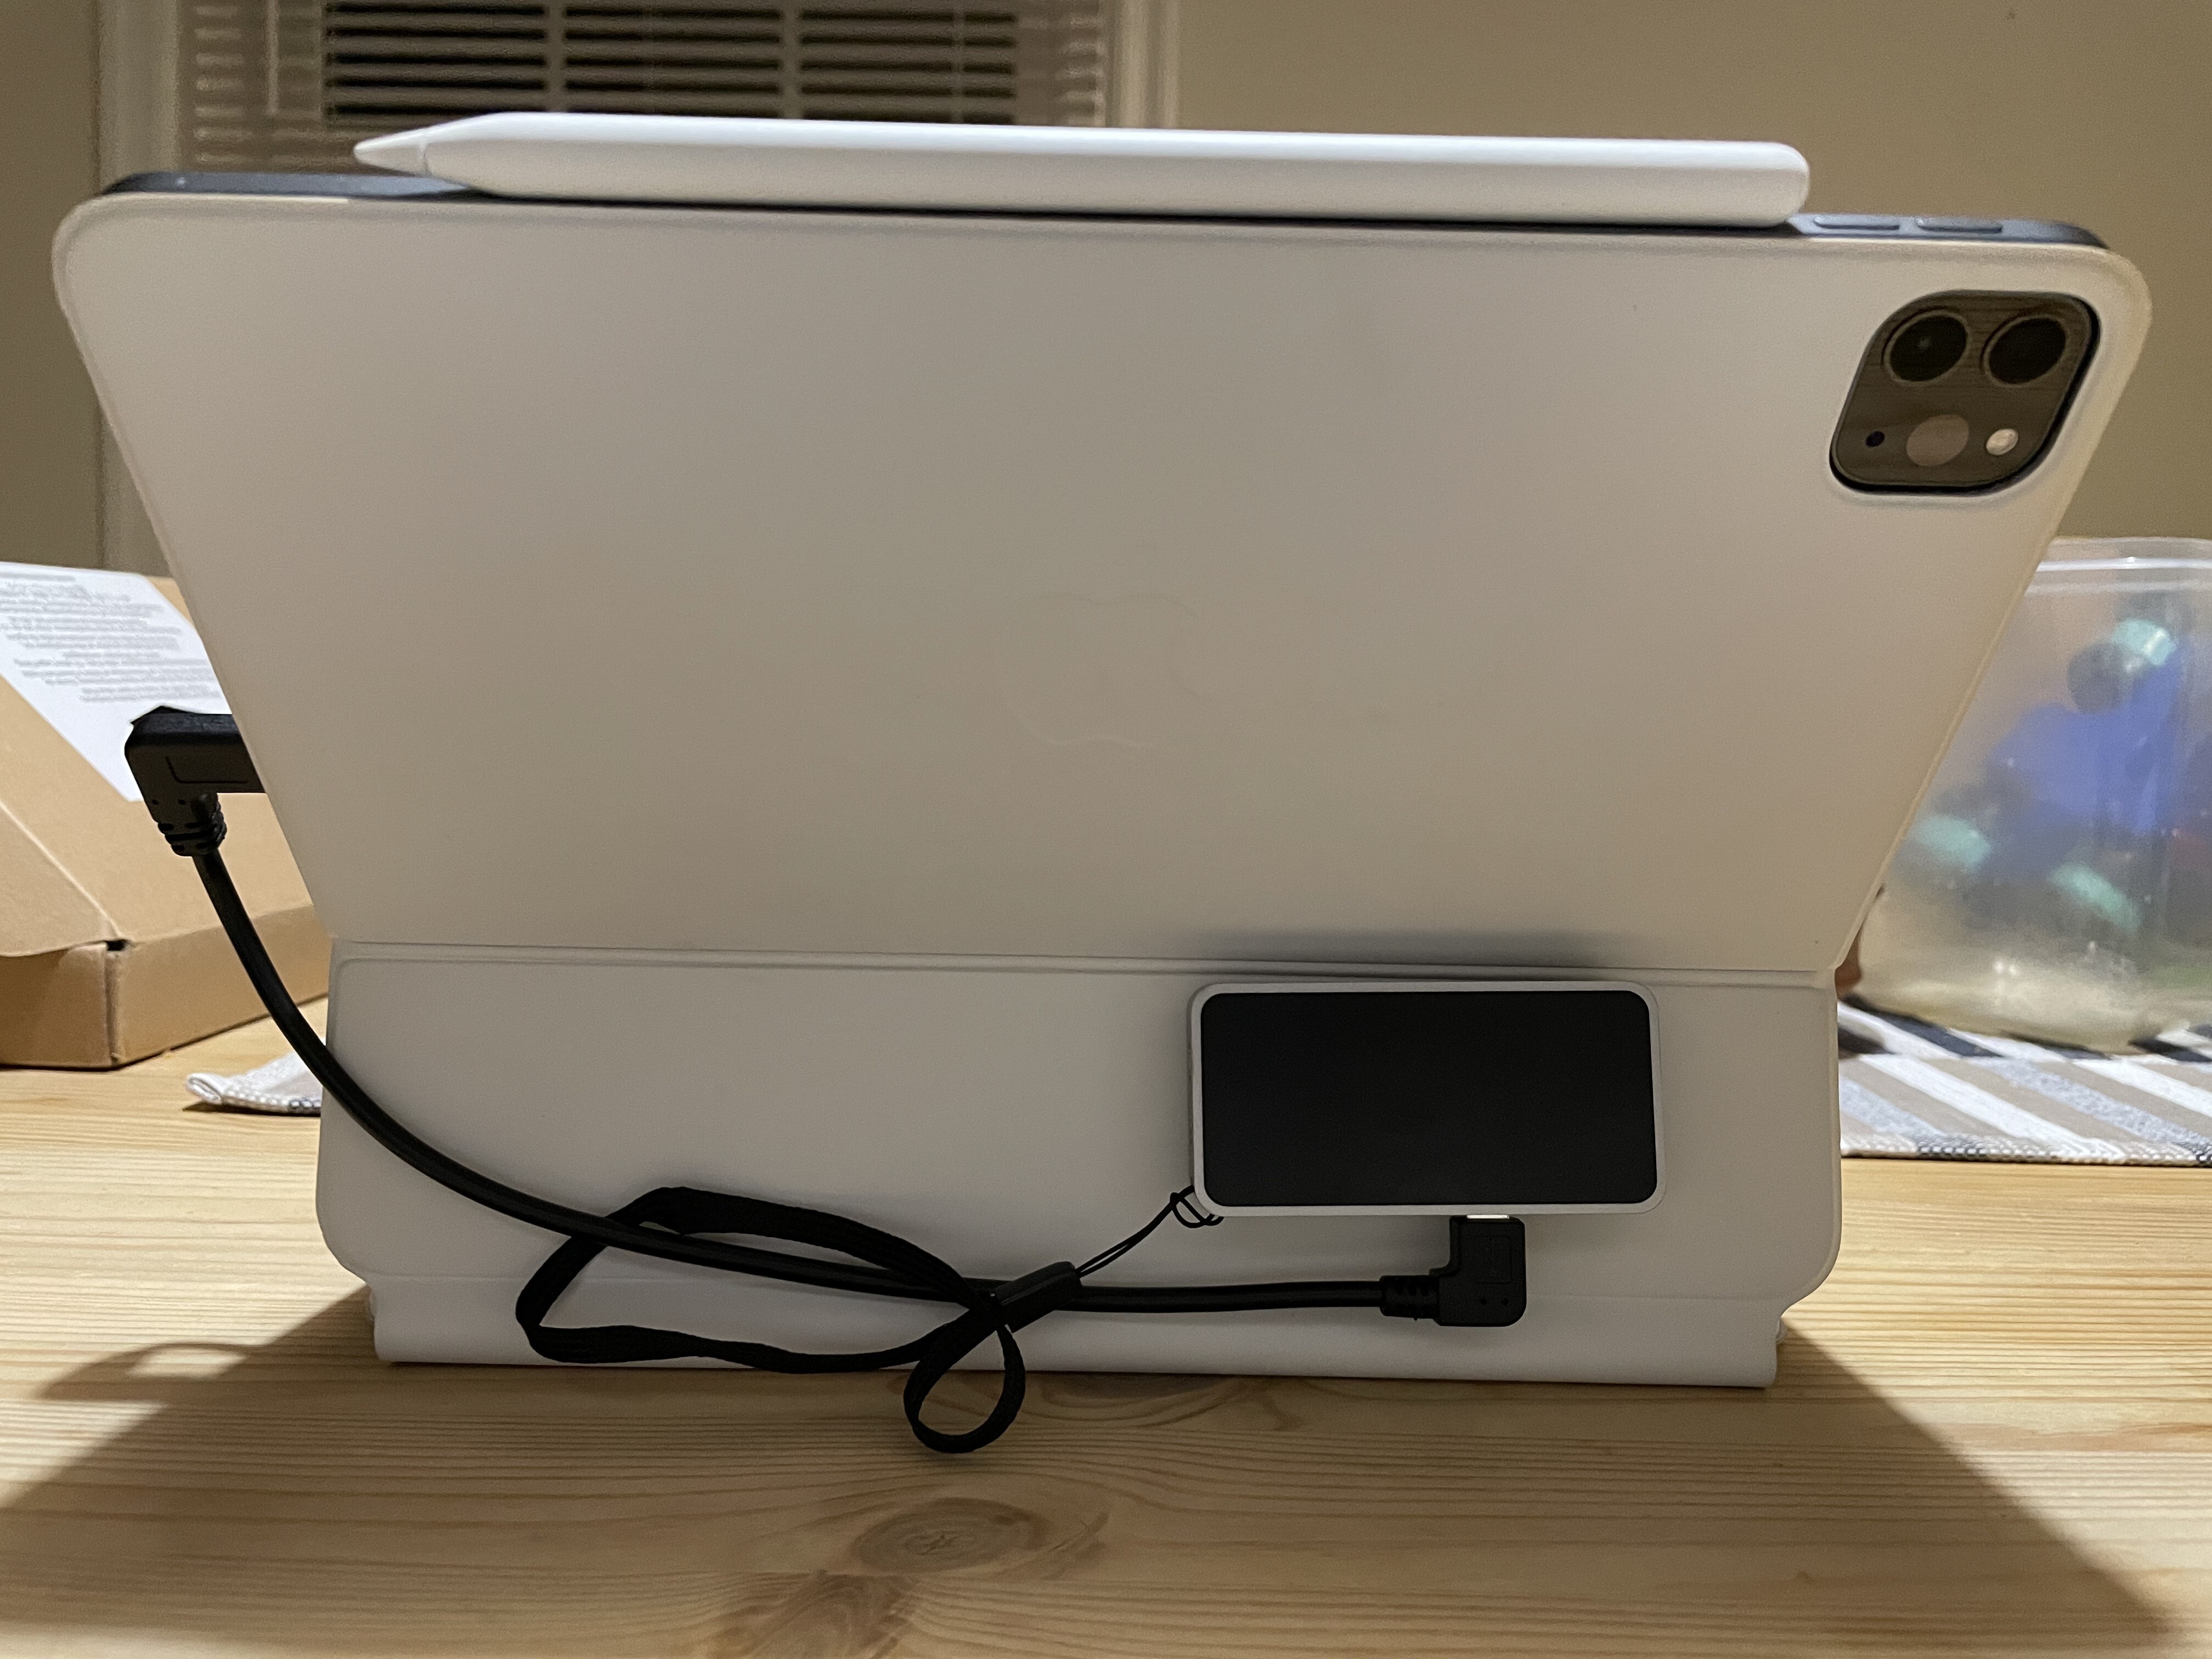
PS. I like it
For me, it worked; I usually got a Macbook for work and I don’t see any reason to buy a computer for personal use. I think the iPad solves and exceed my expectations, it has quirks, and sometimes I need my wife’s Macbook Pro (to flash the SD), but 99% of the time it works.
The next post will be about tighter integration between Linux and iOS aka notifications.
My only regret; I should have bought the cellular-capable iPad, maybe in a couple of years …
tags: linux - raspberry - development - guides